Hello Cuplomats,
We are making fast work of experimental production to find the best ways to produce the final cups for delivery to Washington D.C. Today I am including images of production I have been working on for both the Republican and Democrat cups and some explanation of the images and my process. We hope you enjoy some insight into our creative world.
– Helen Otterson, Ceramist and Cuplomacy Design and Production
Democratic Cup:
The 3D prints were delivered. While the prints are high quality, they require a little sanding to smooth out the ridges.

Casting begins! I decided to start the cast at the base, so I turned the cup upside down, covered it in clay, allowing only the base to show, and poured the first part of the mold.
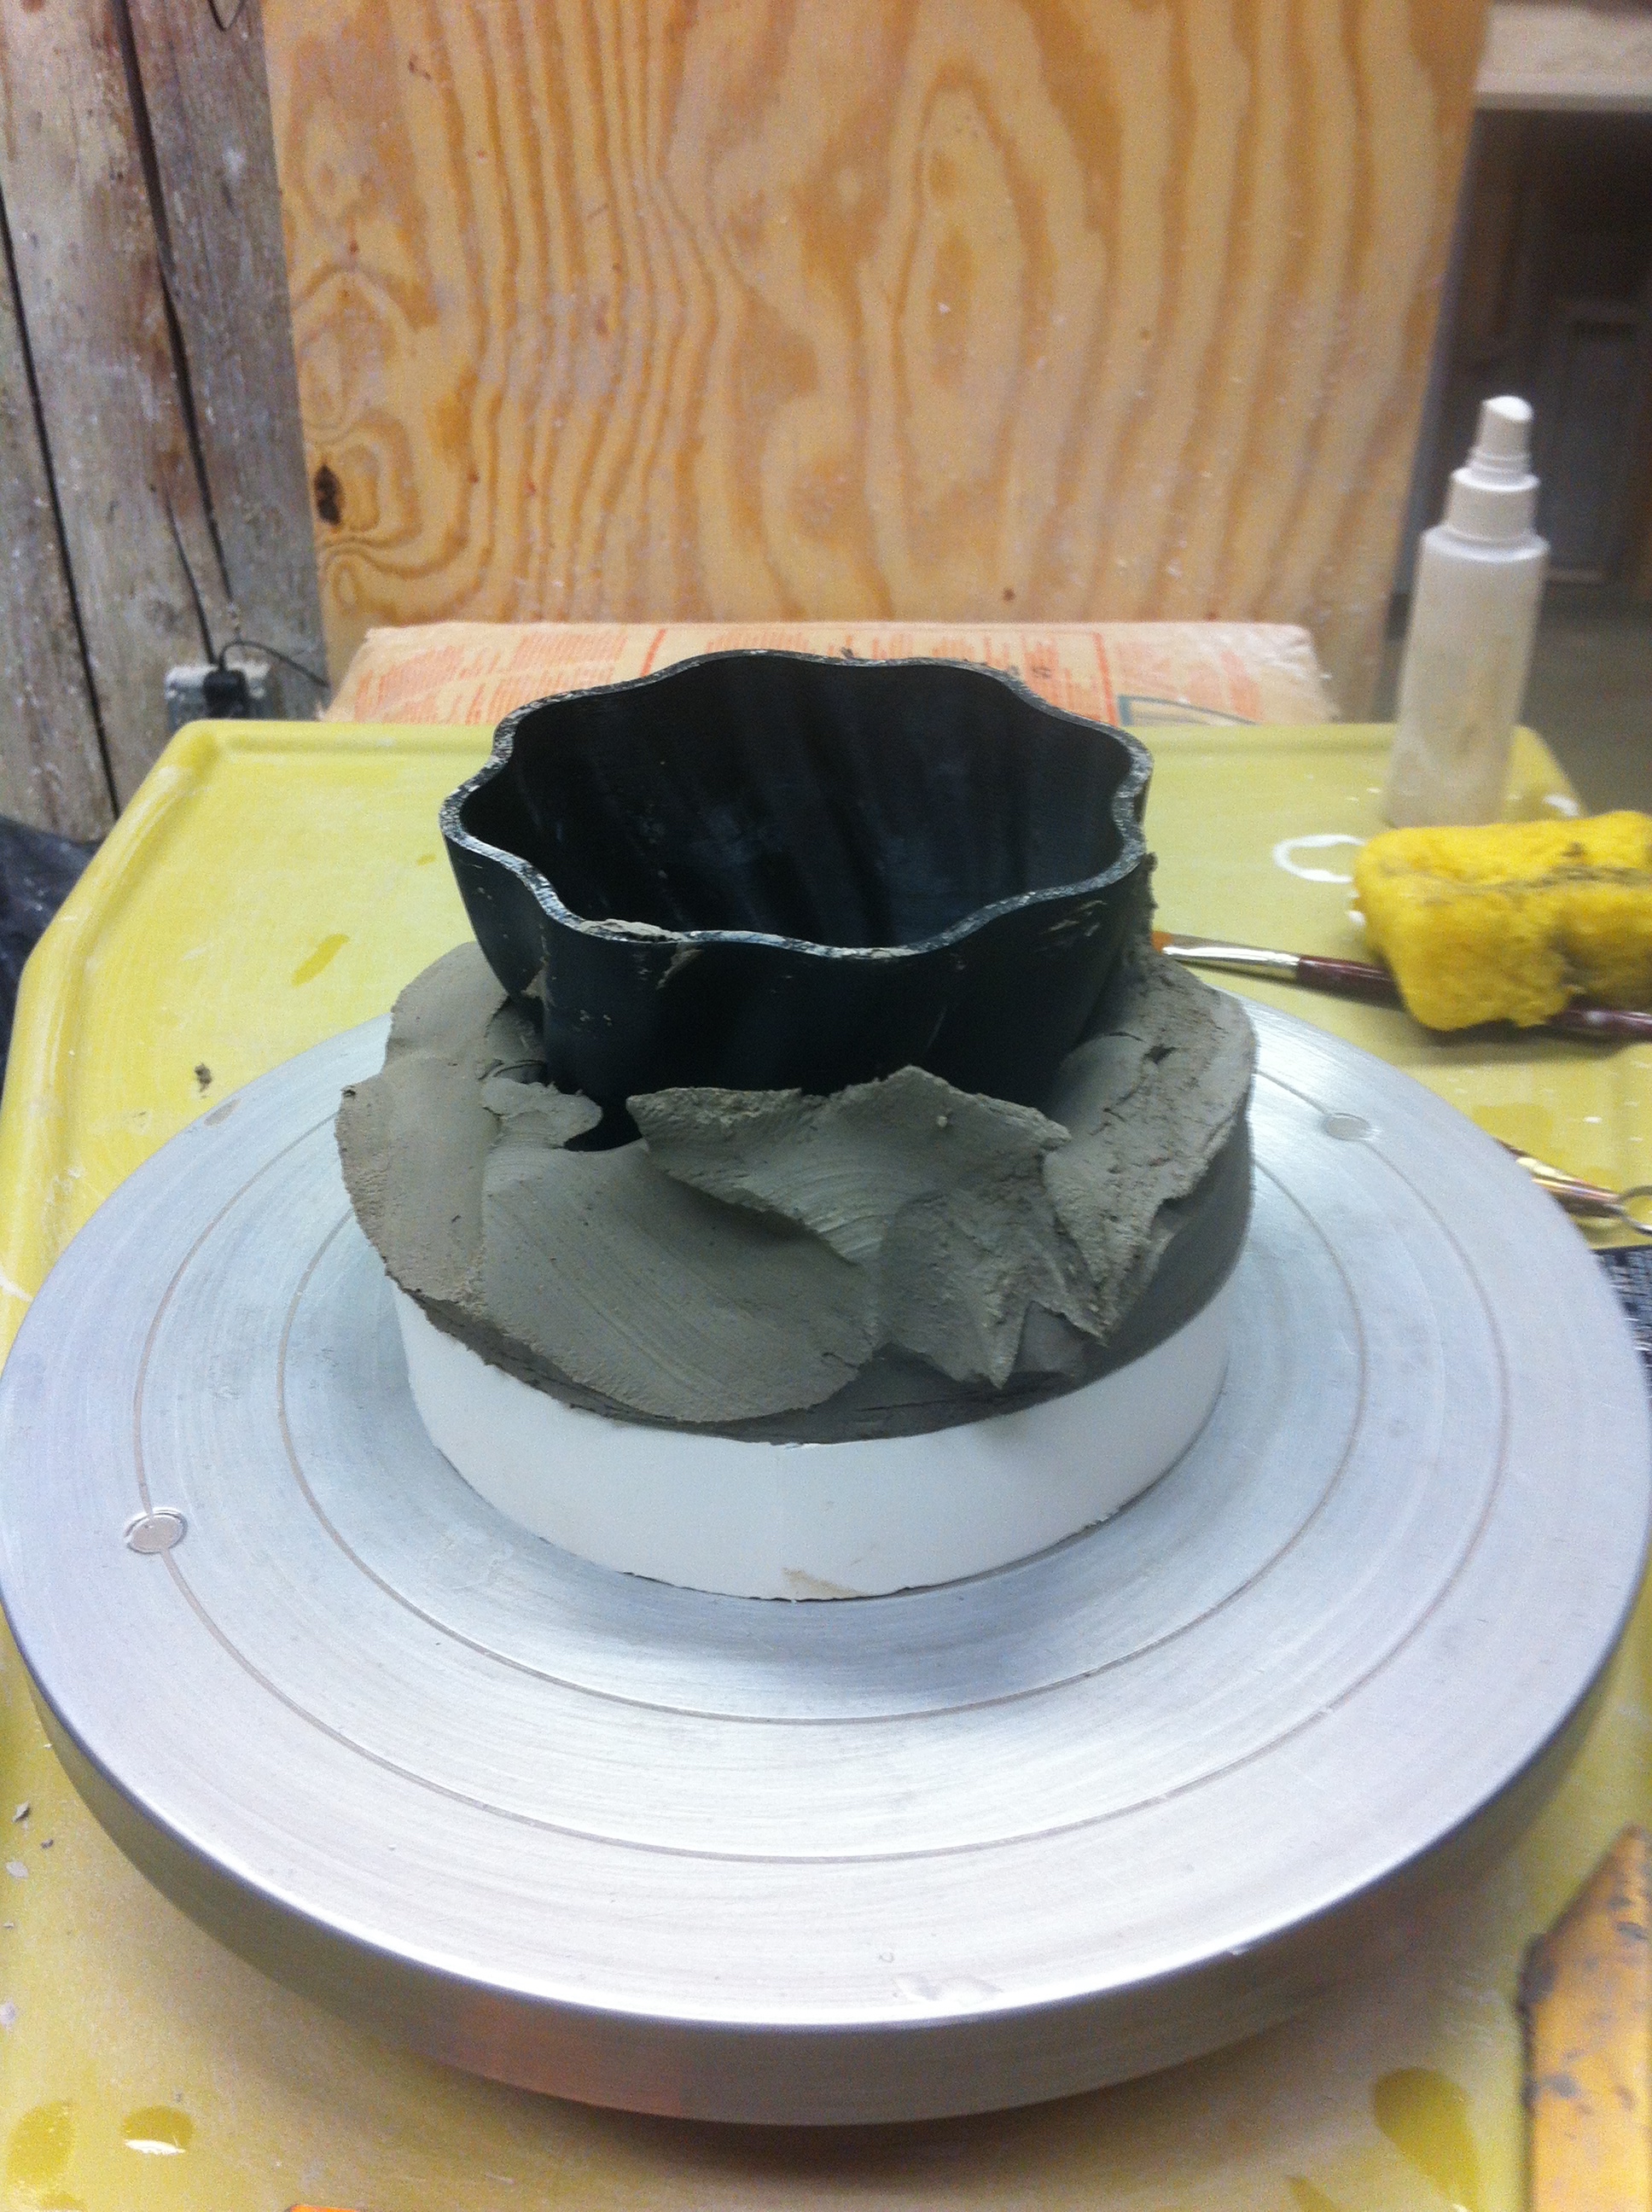
The first piece has set. I flipped the cup upright and remove the clay, revealing the cup.

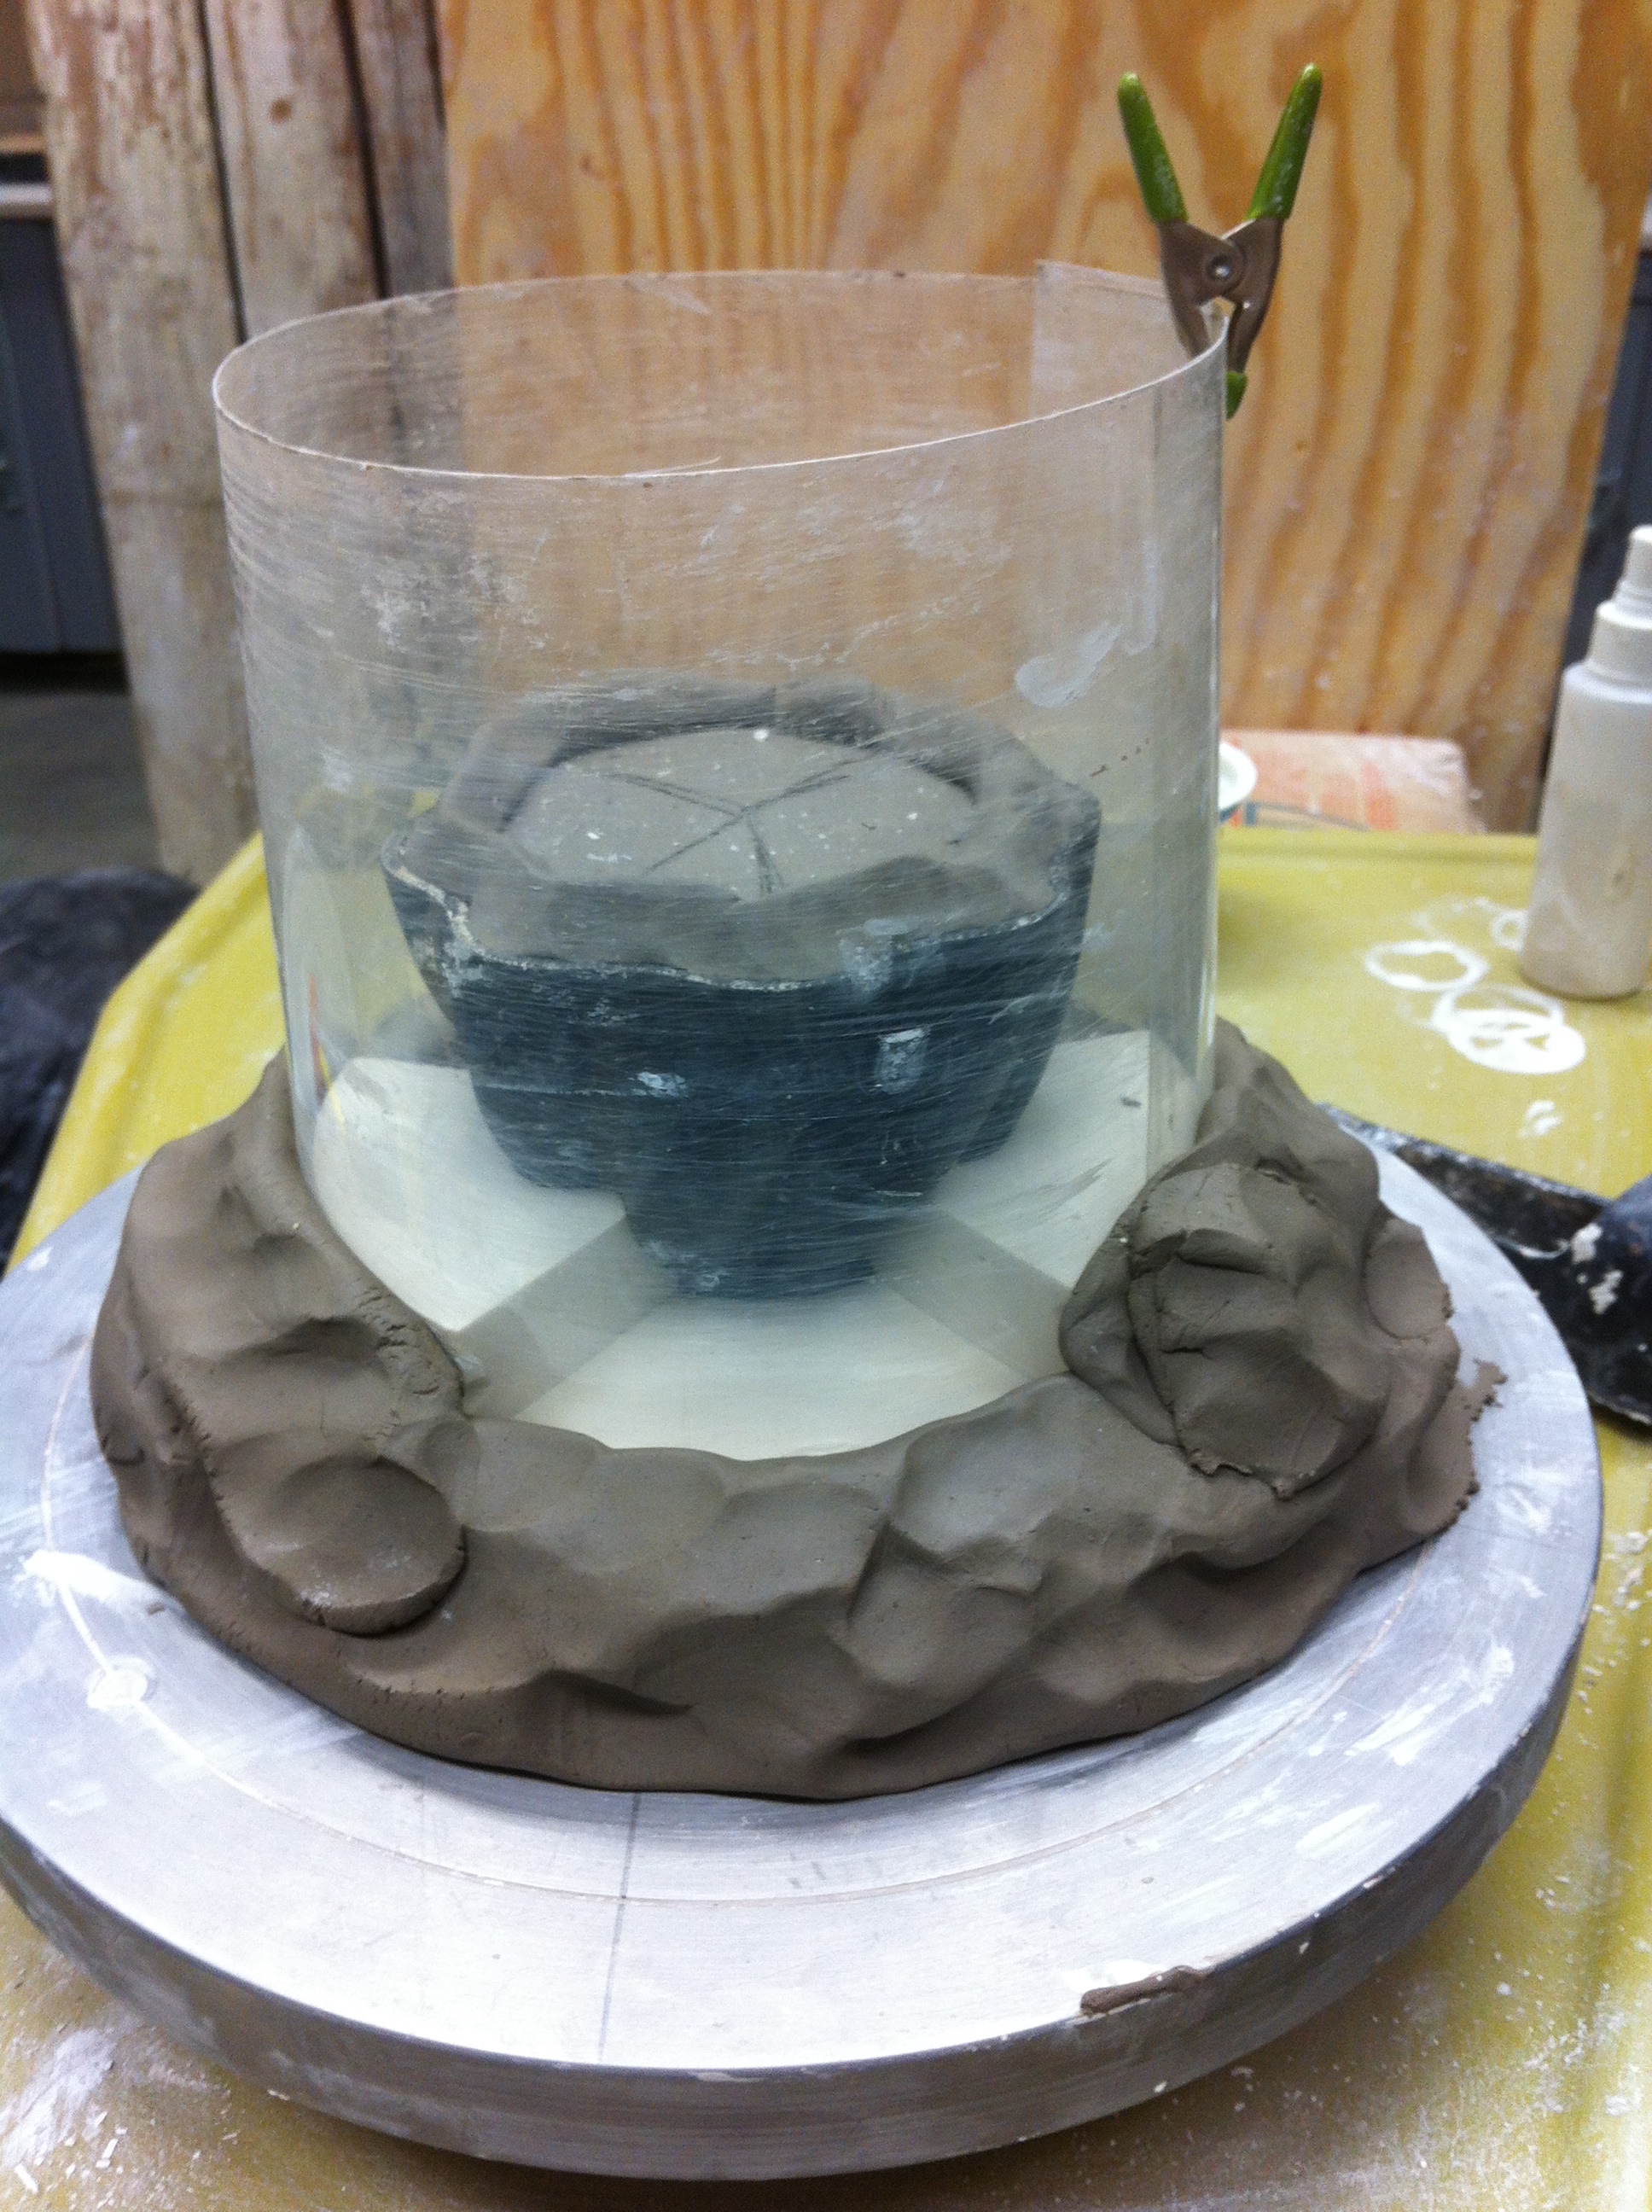
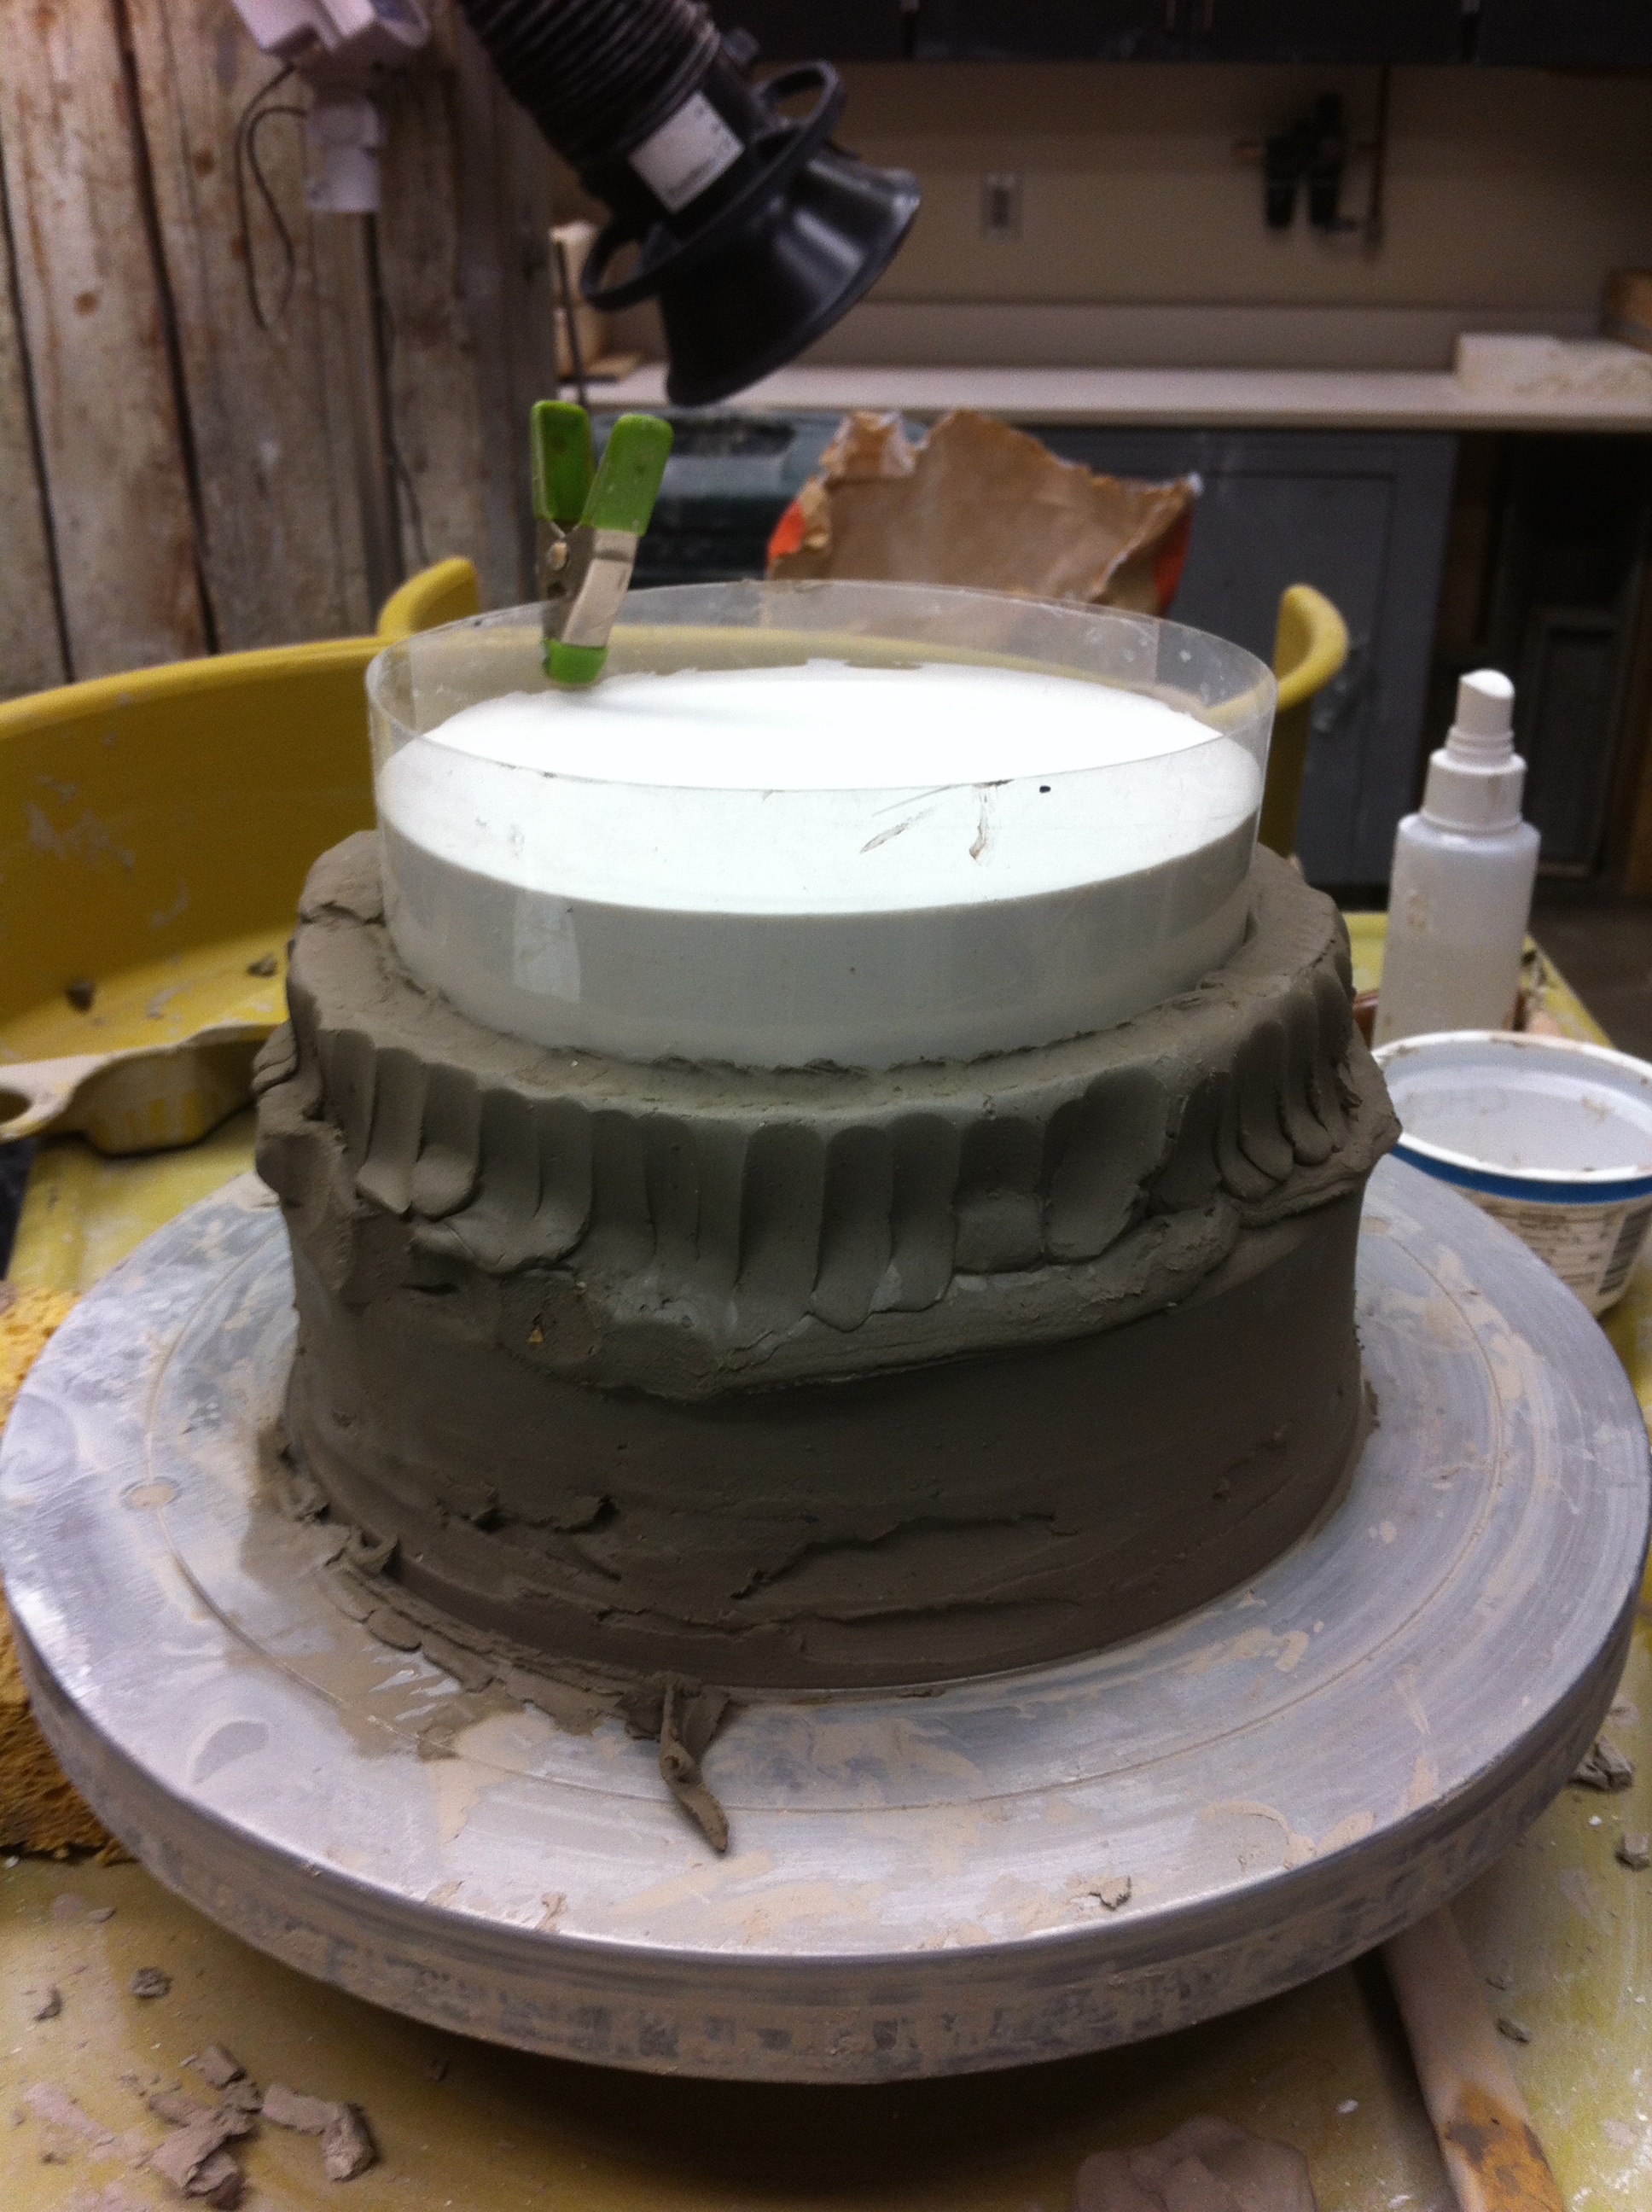
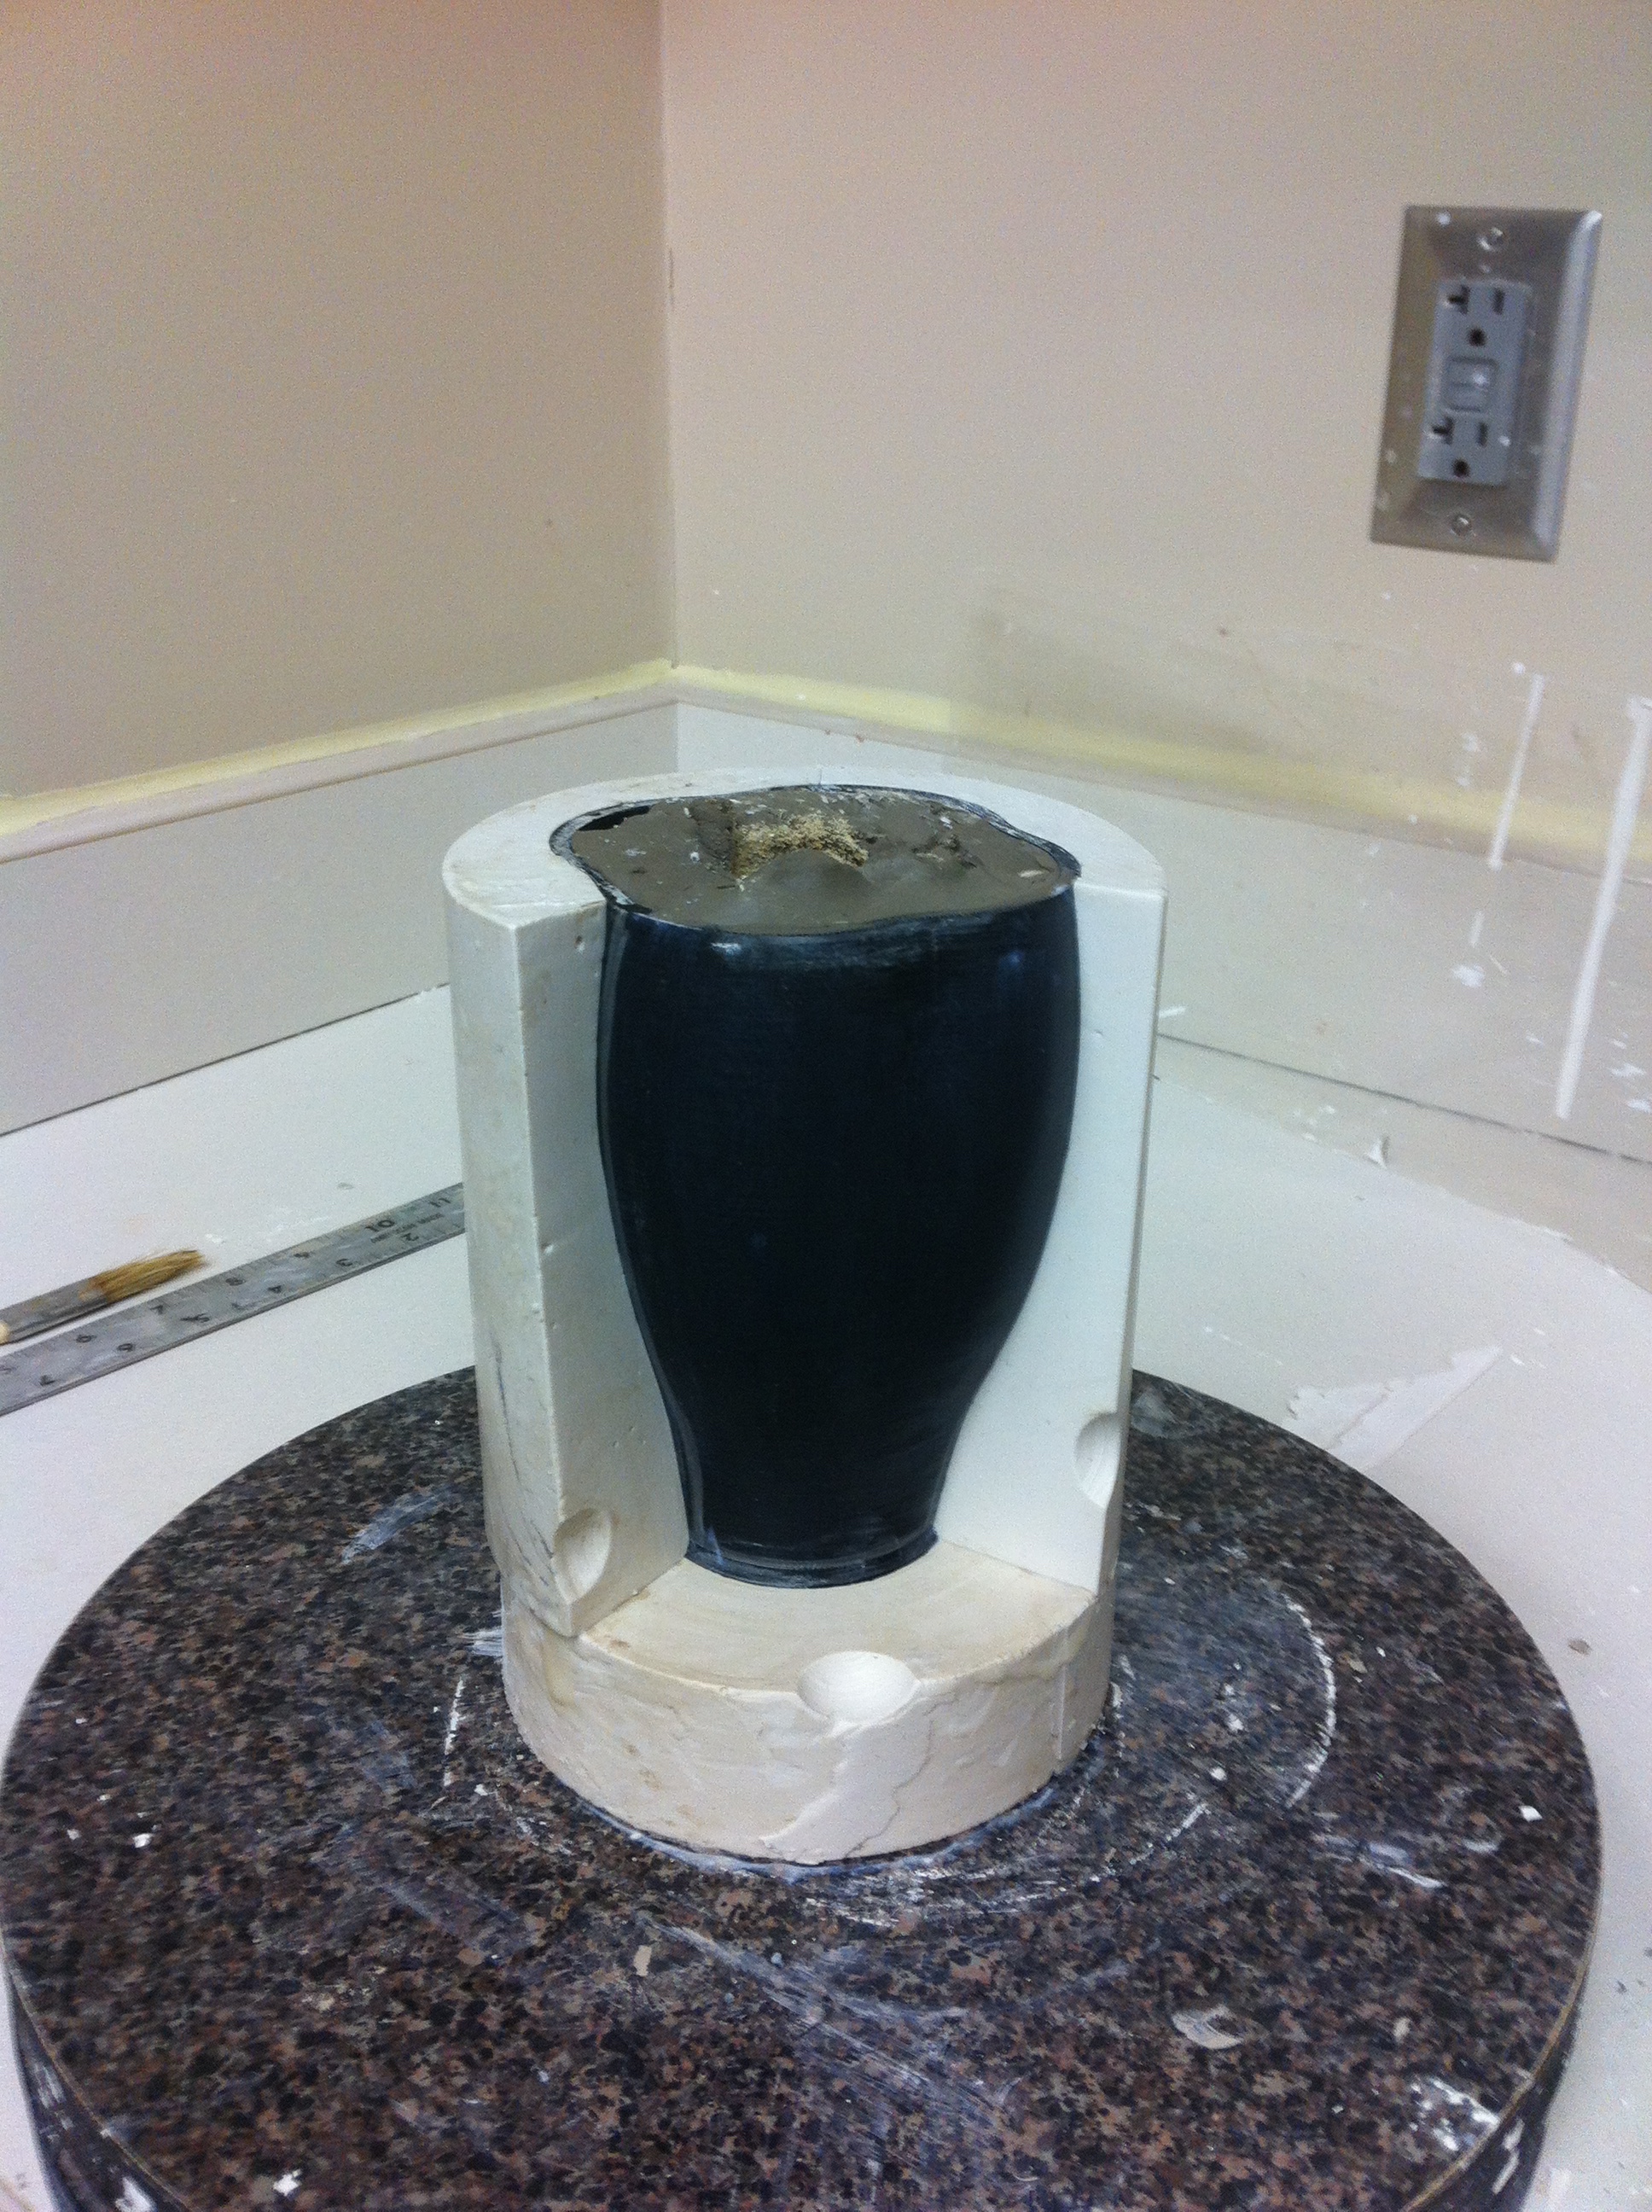
Multi part mold in process.

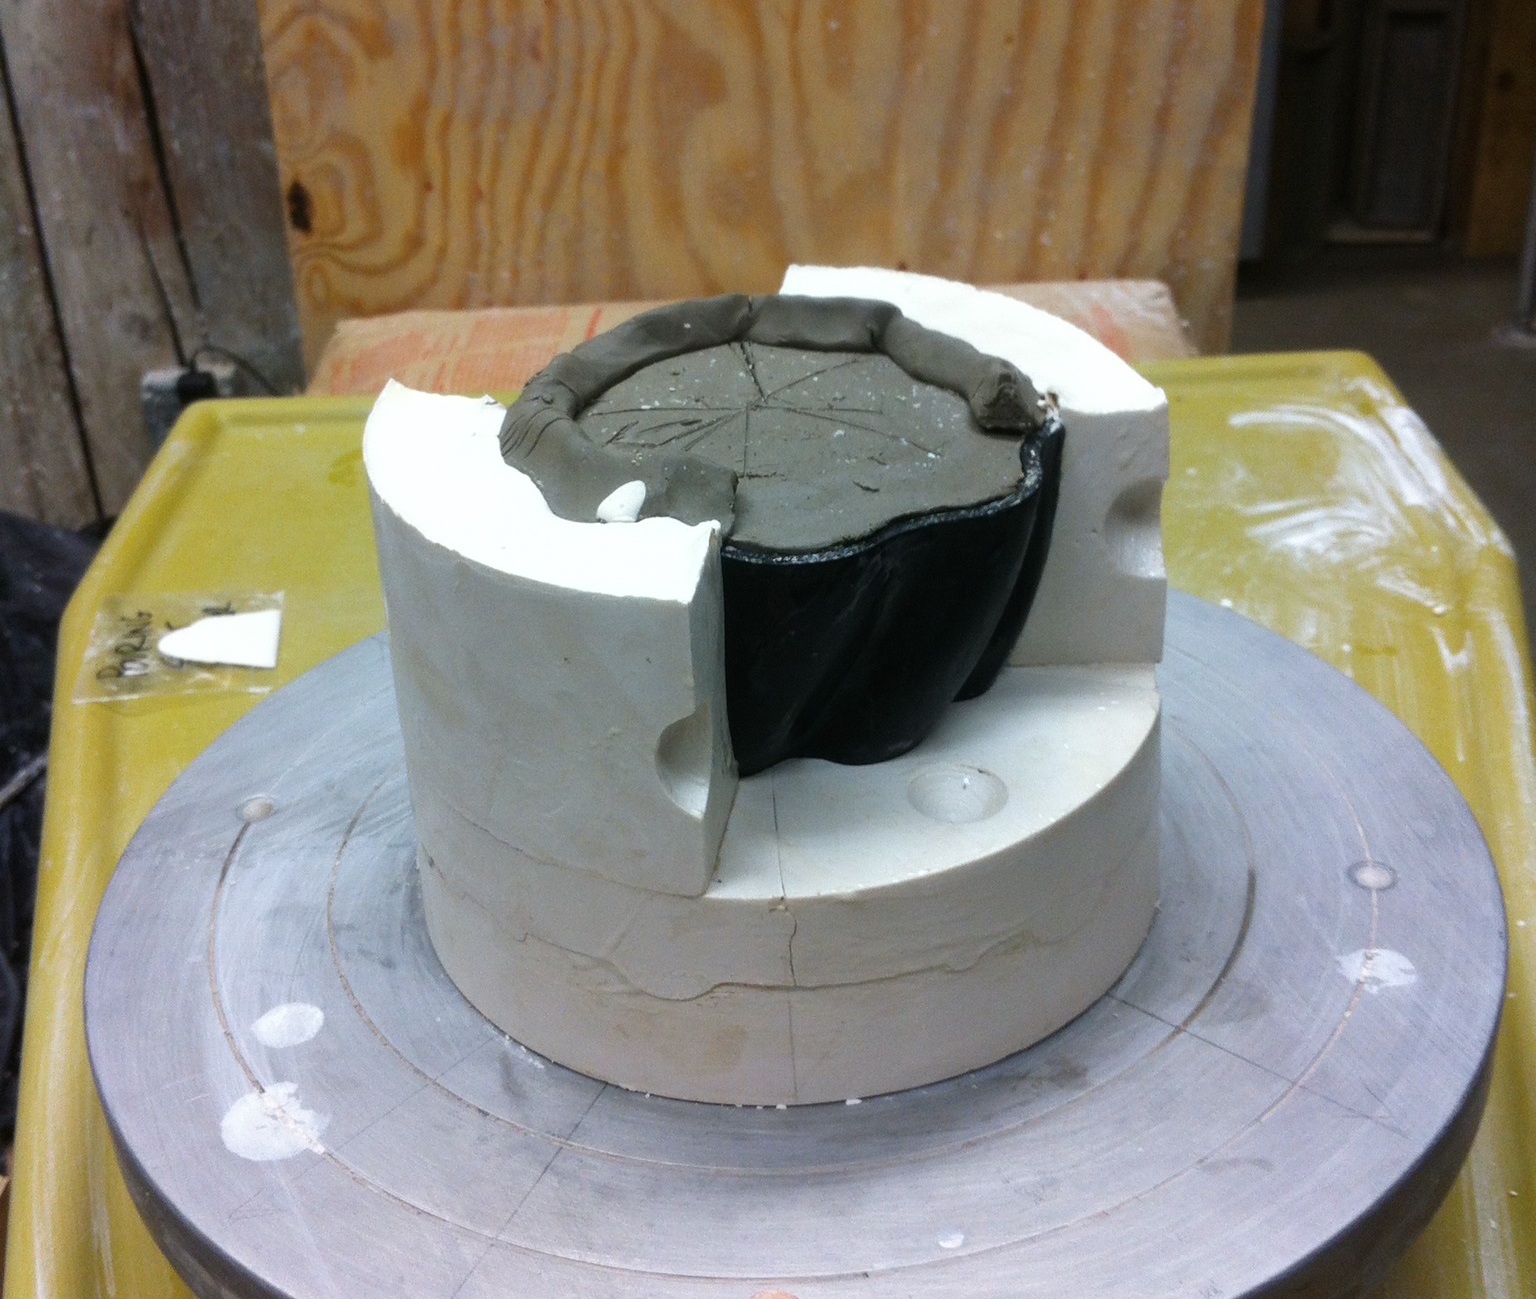
The finished mold with the 3D printed cup.
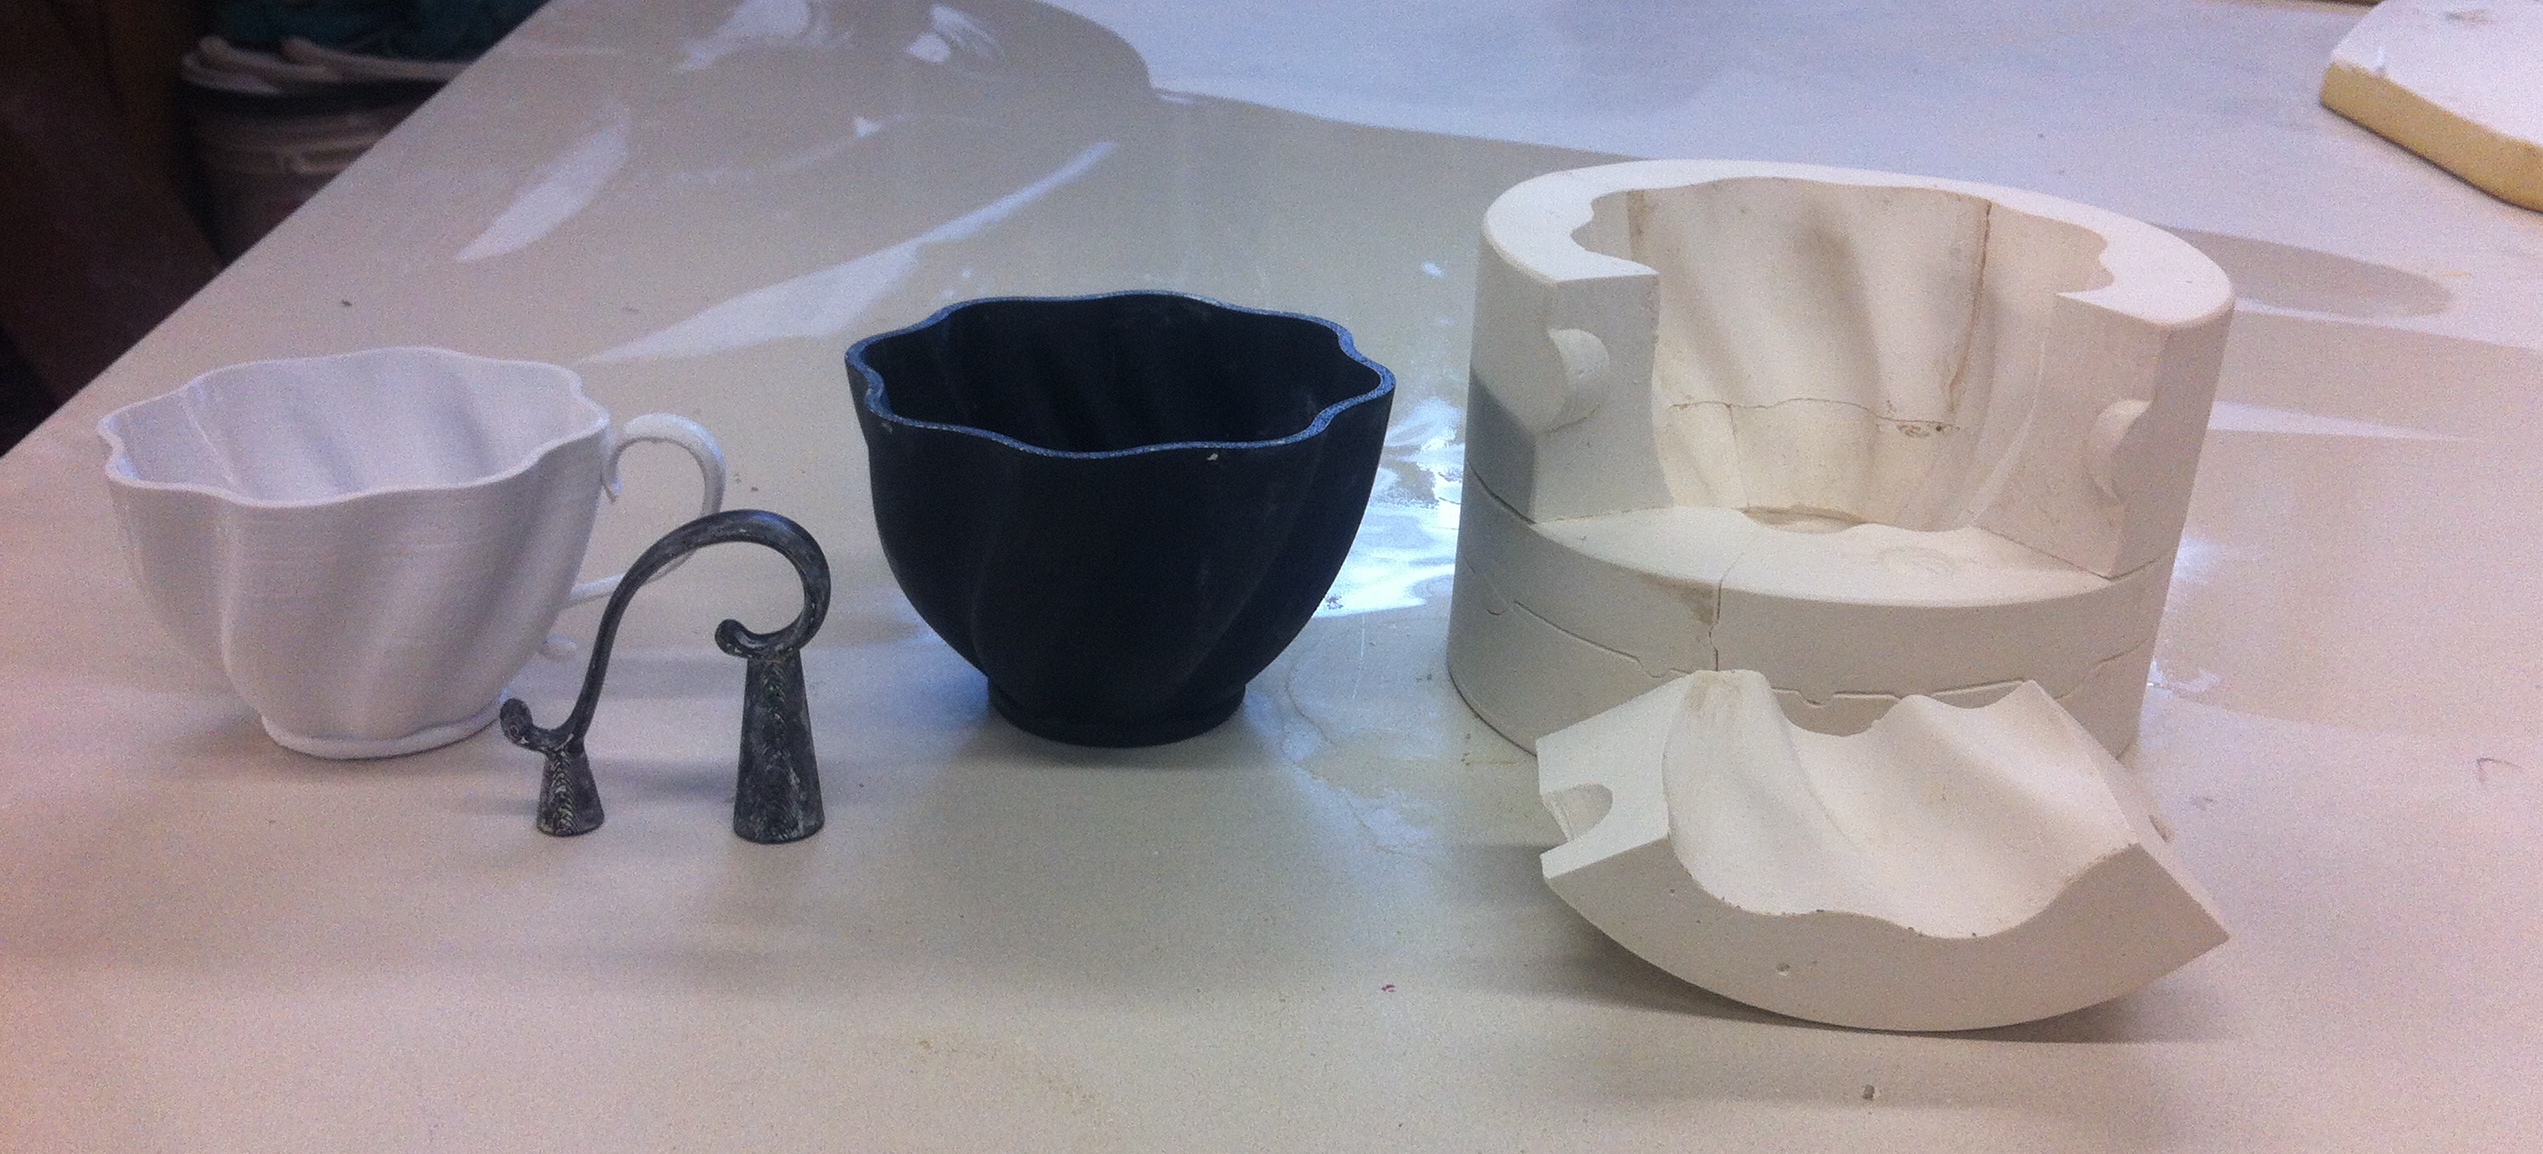
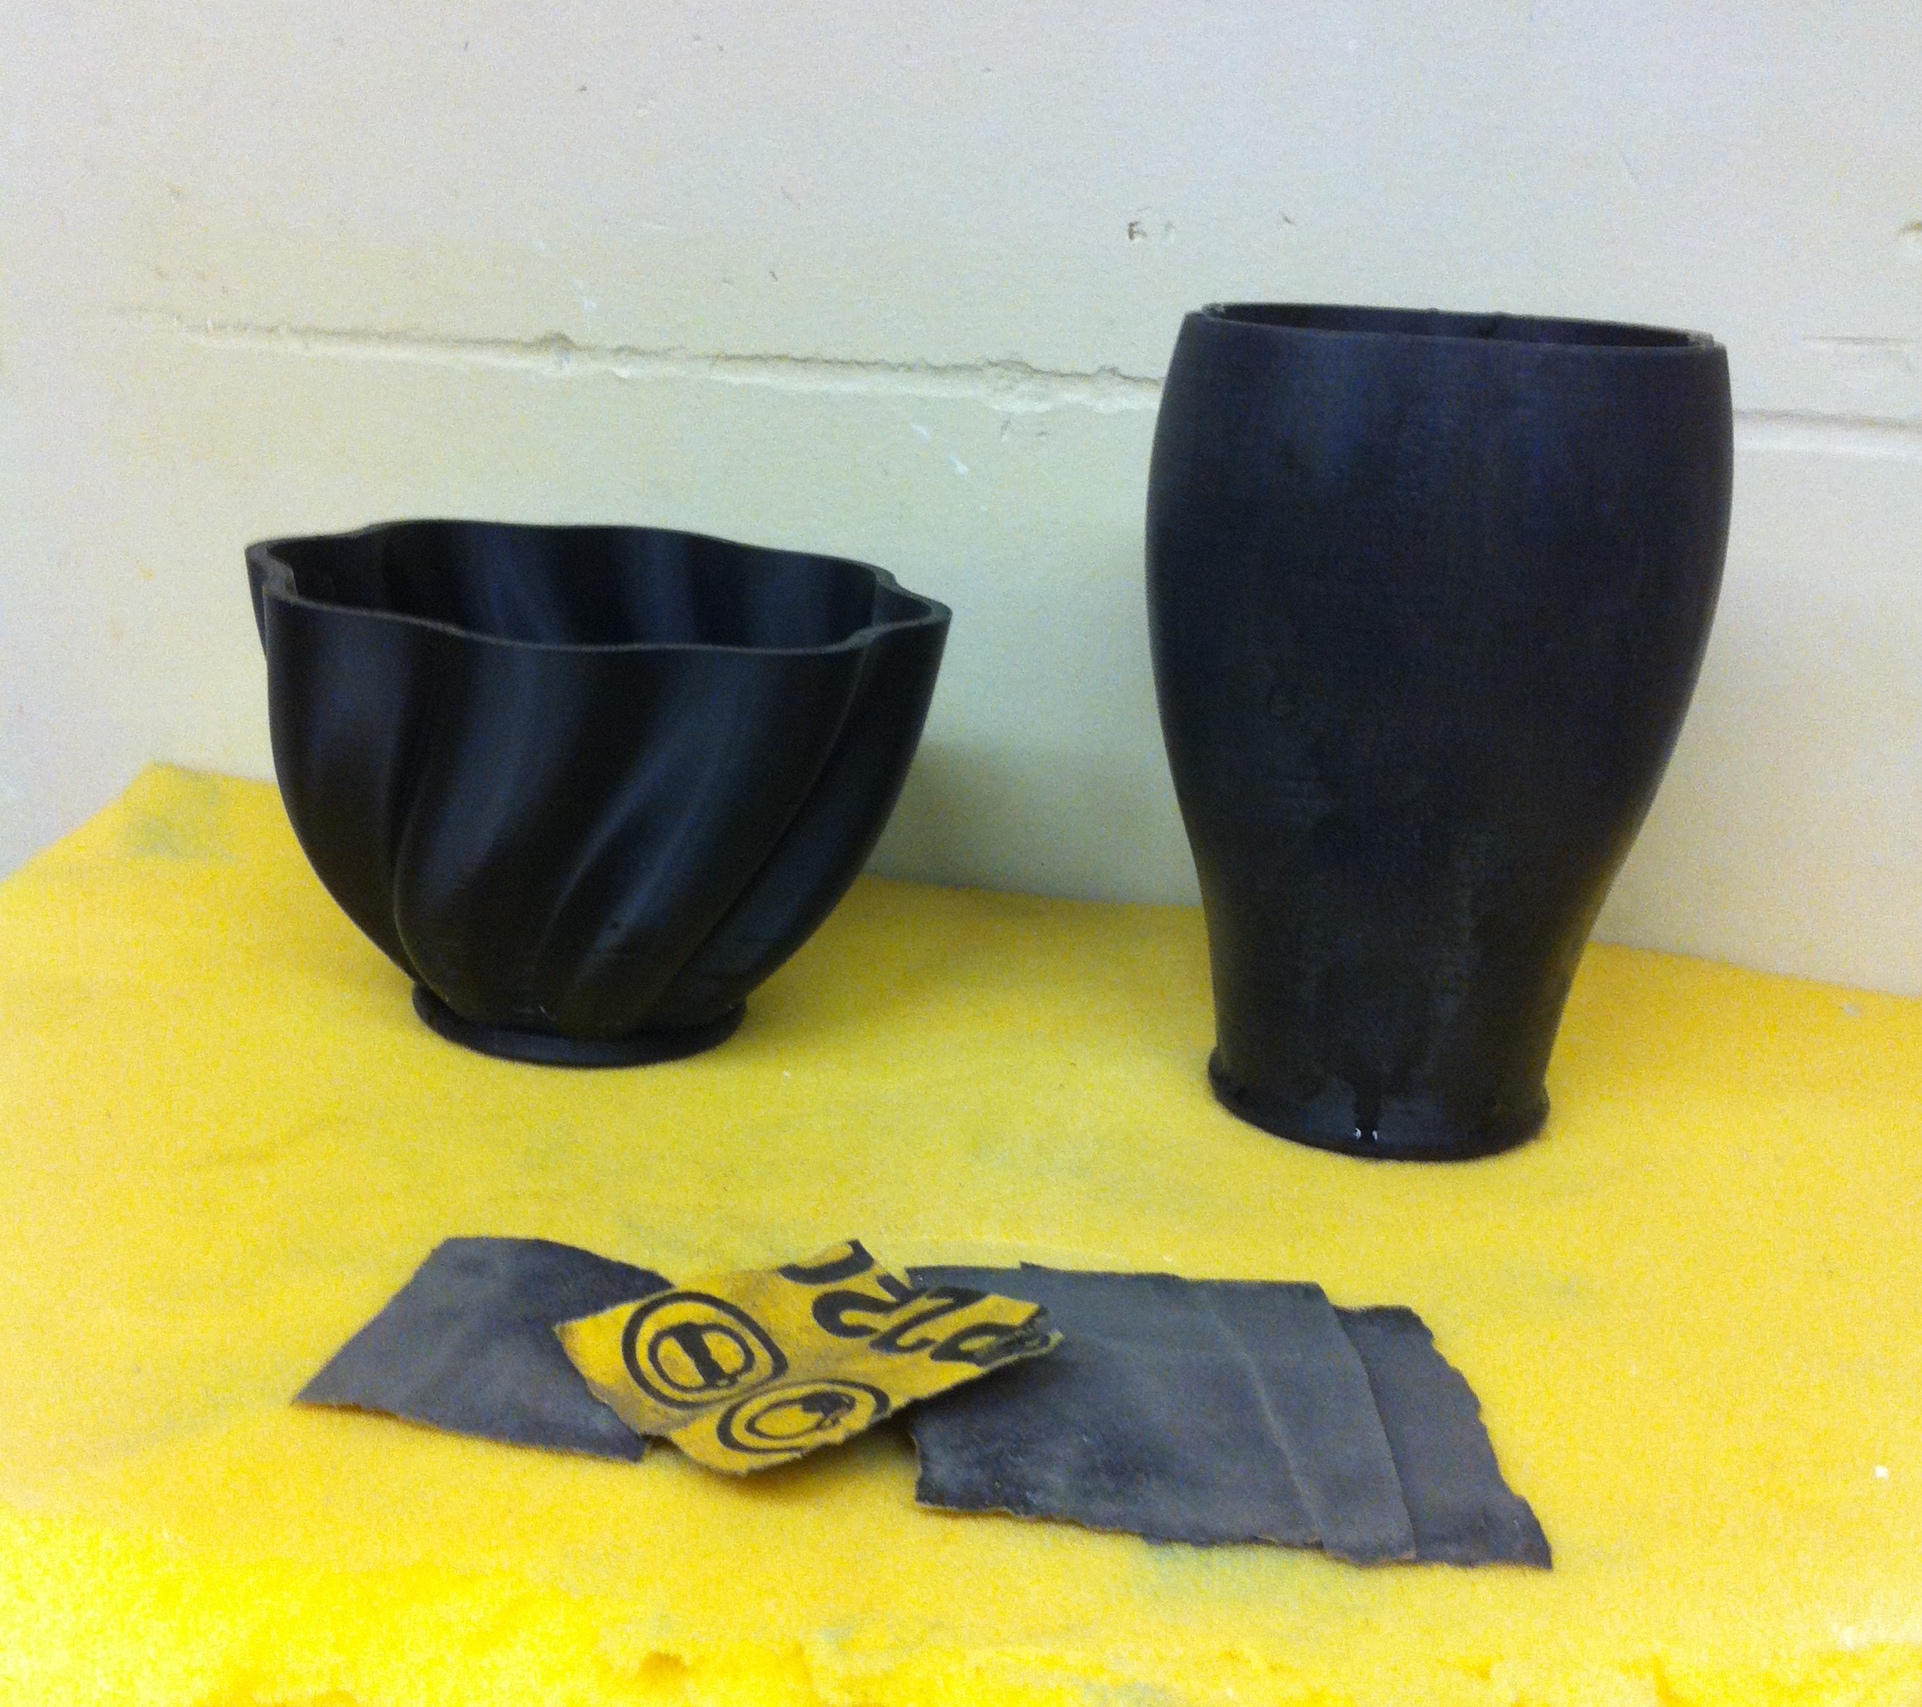
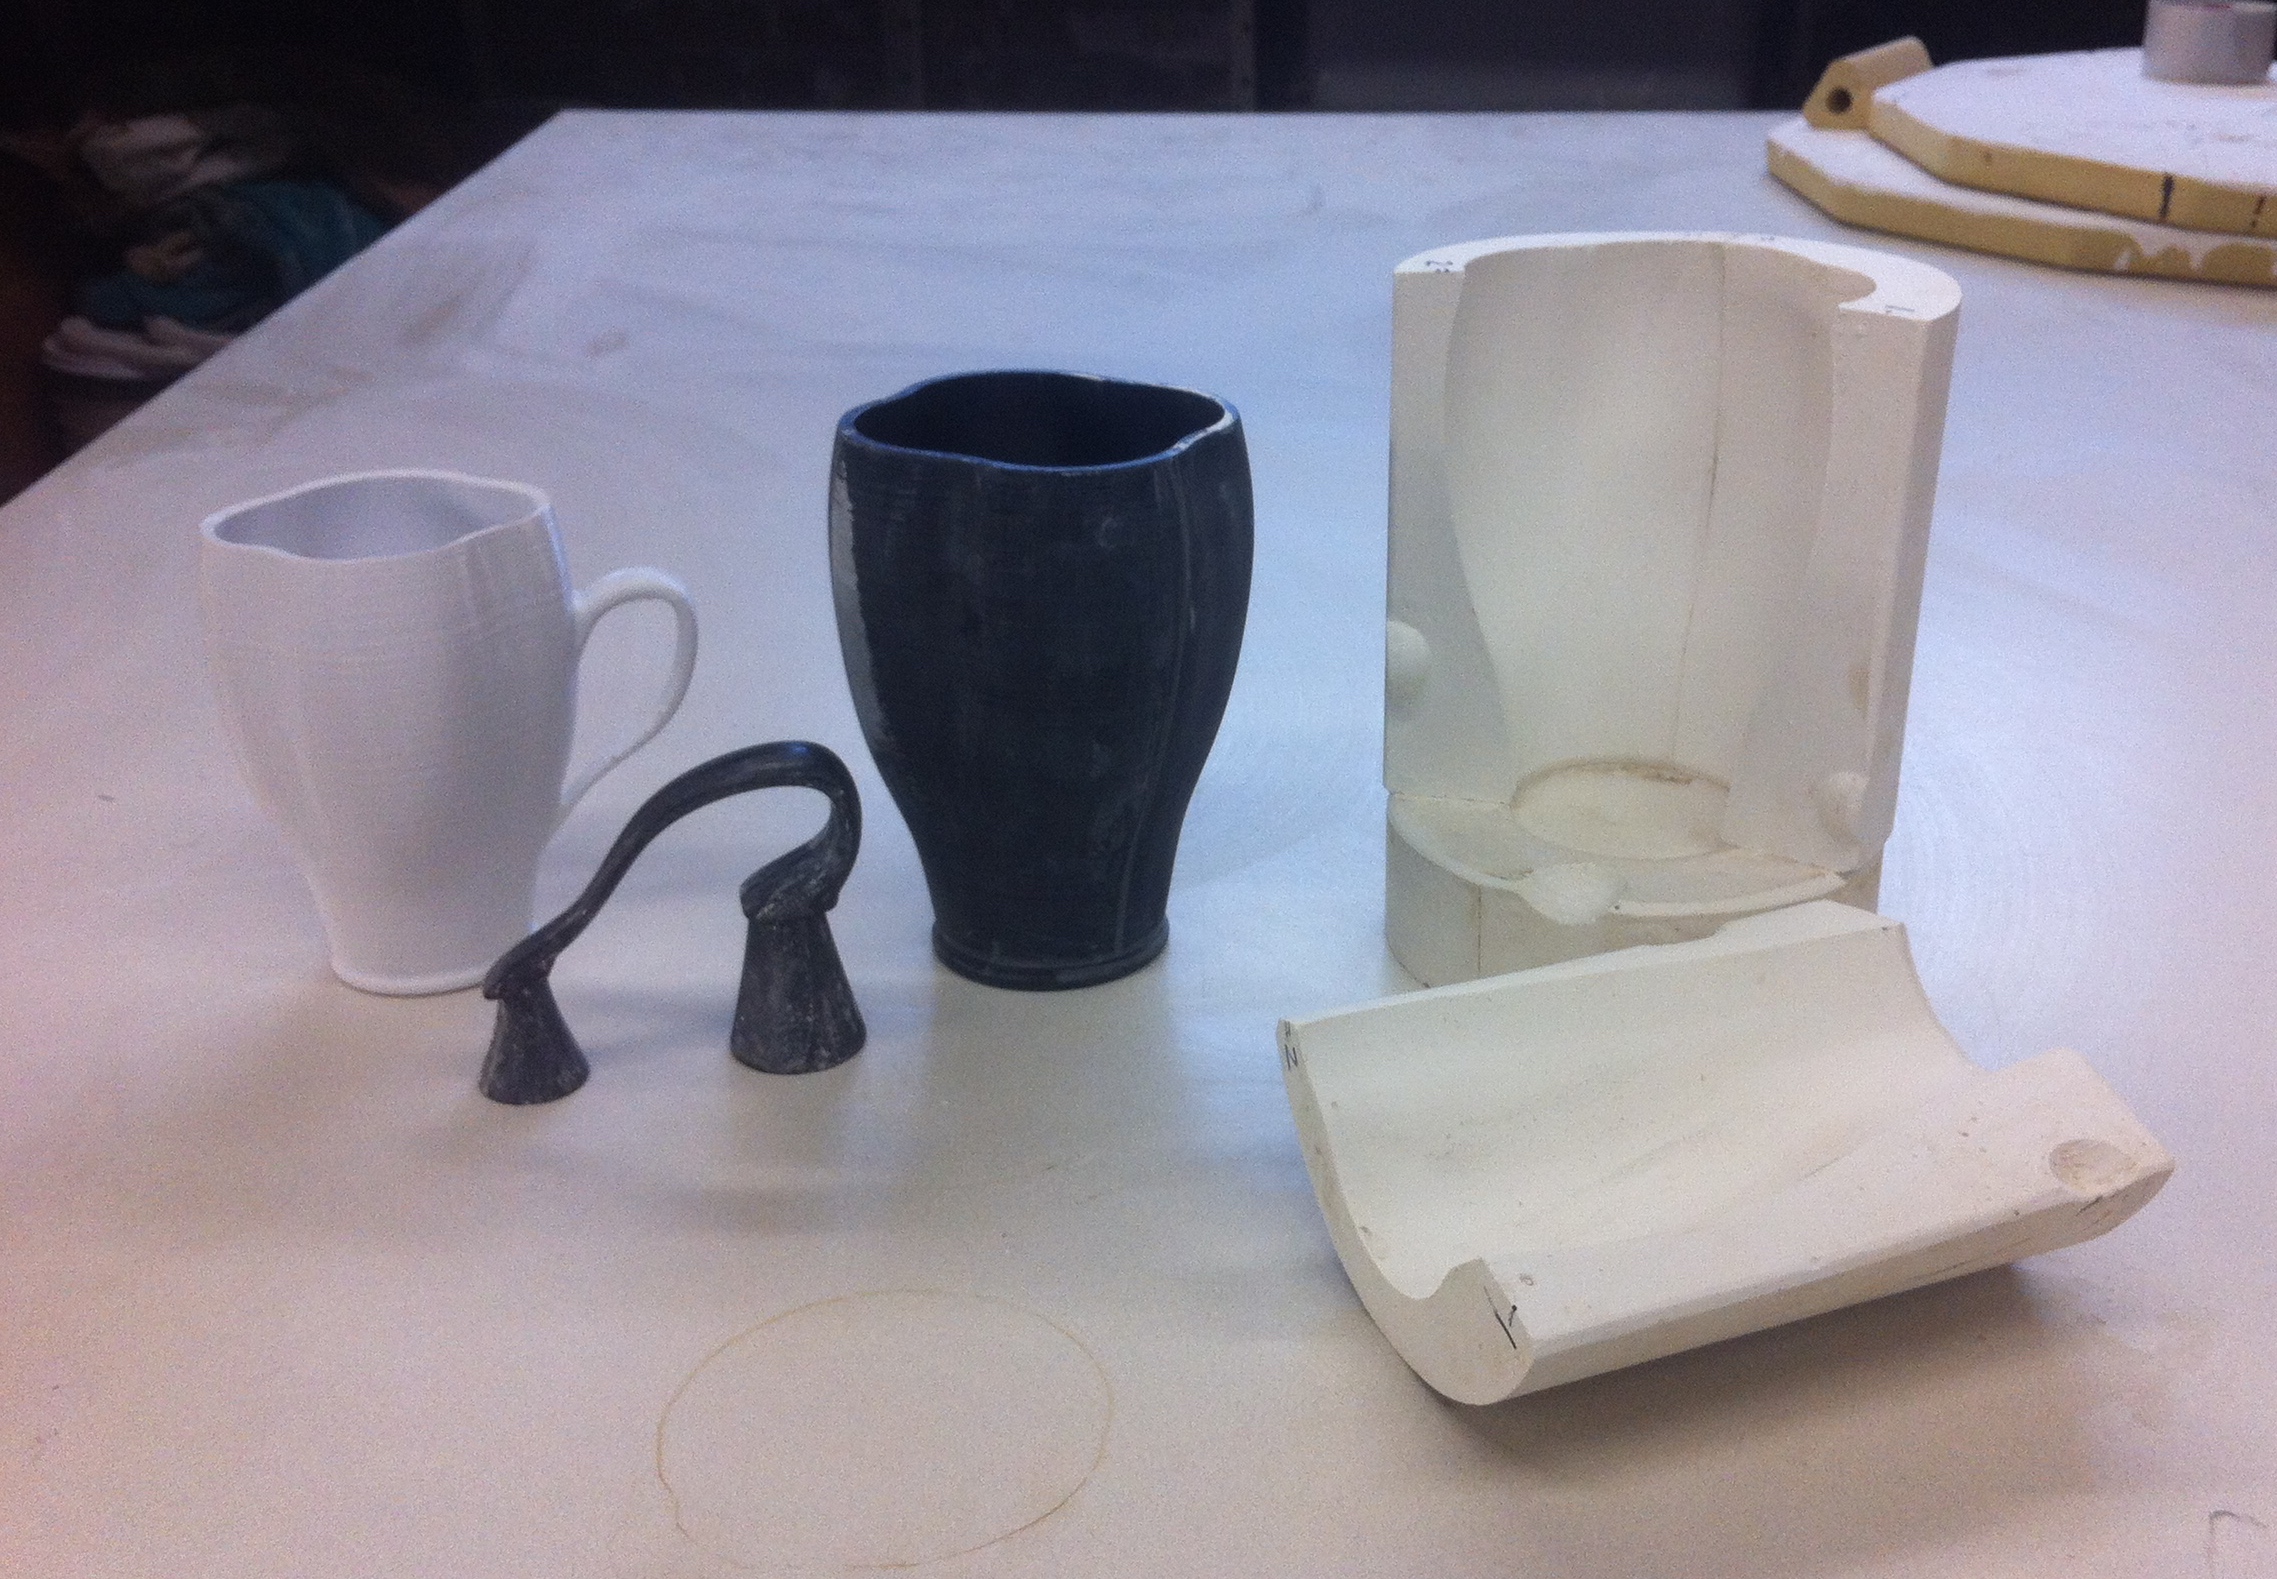
Here are the stages of design. The white cup was our first print to verify size and form. The black cup is the finalized form scaled up 12% to allow for shrinkage of the clay. Due to the twist in the cup the mold ended up being an 8 part mold.
Republican Cup:
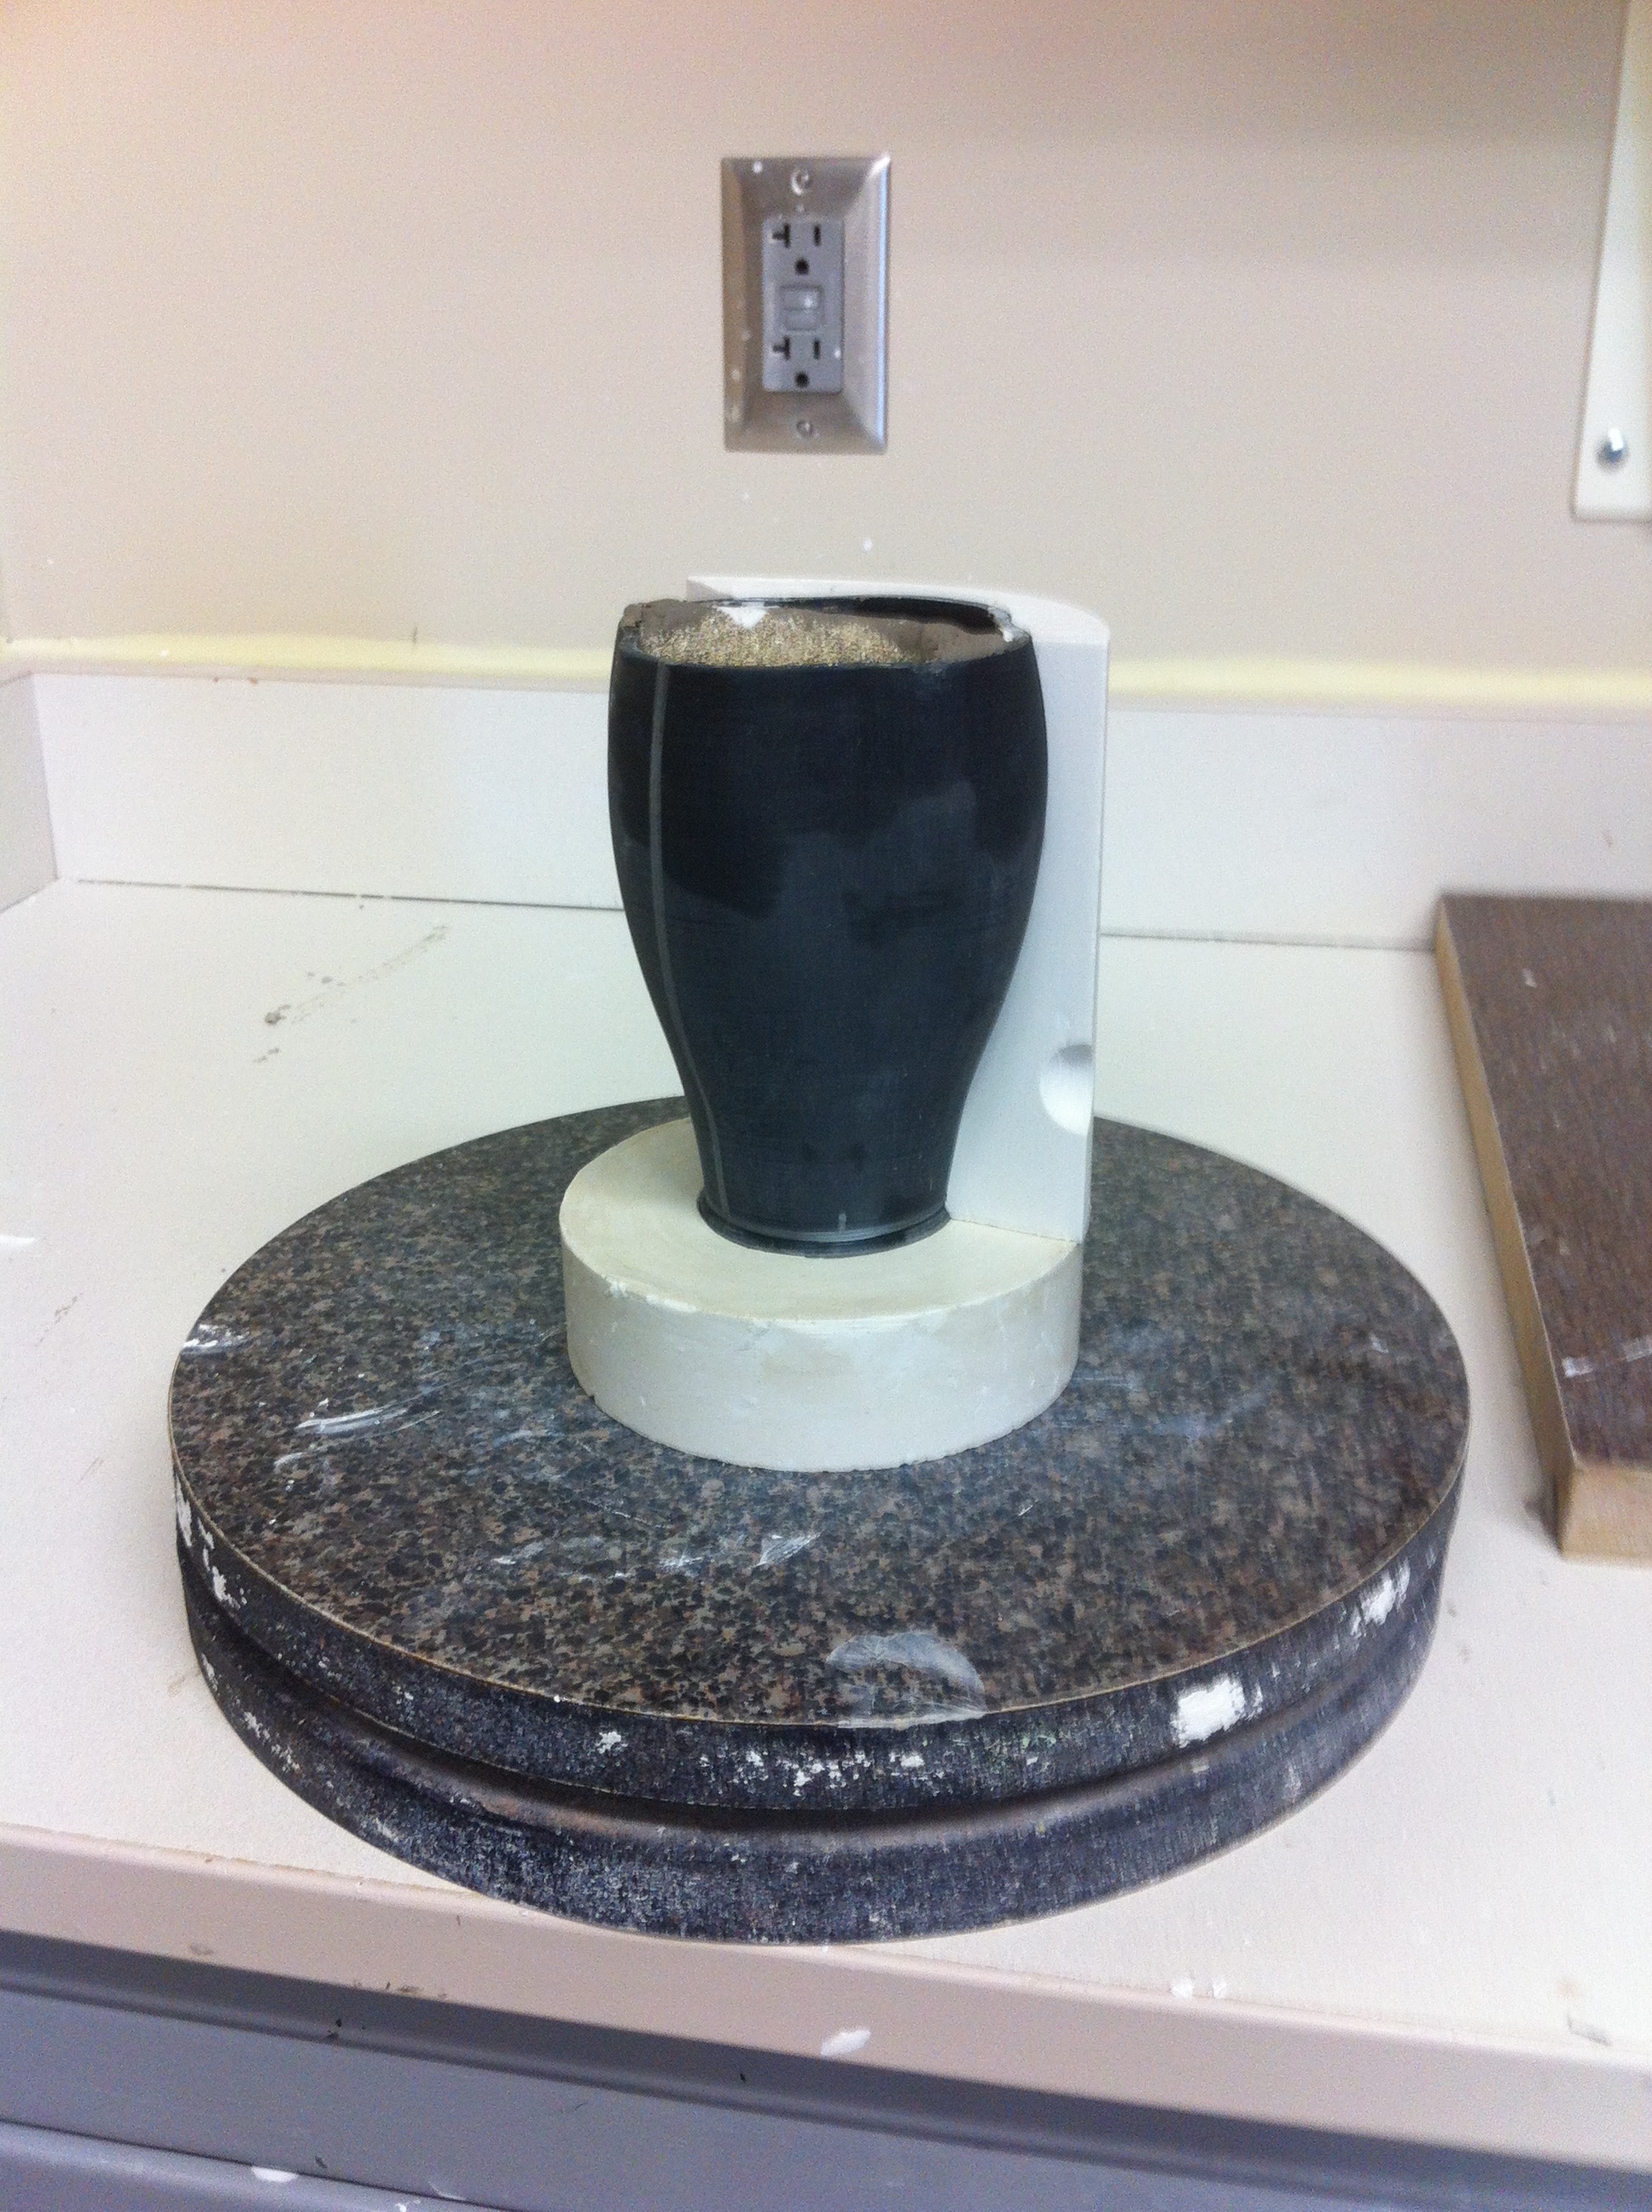
Beginning the cast for the Republican cup, starting at the base.

The sides are clayed up leaving a 1/3 of the side revealed for pouring the first side of the cup.
Post pour and clean up of the first side of the mold.
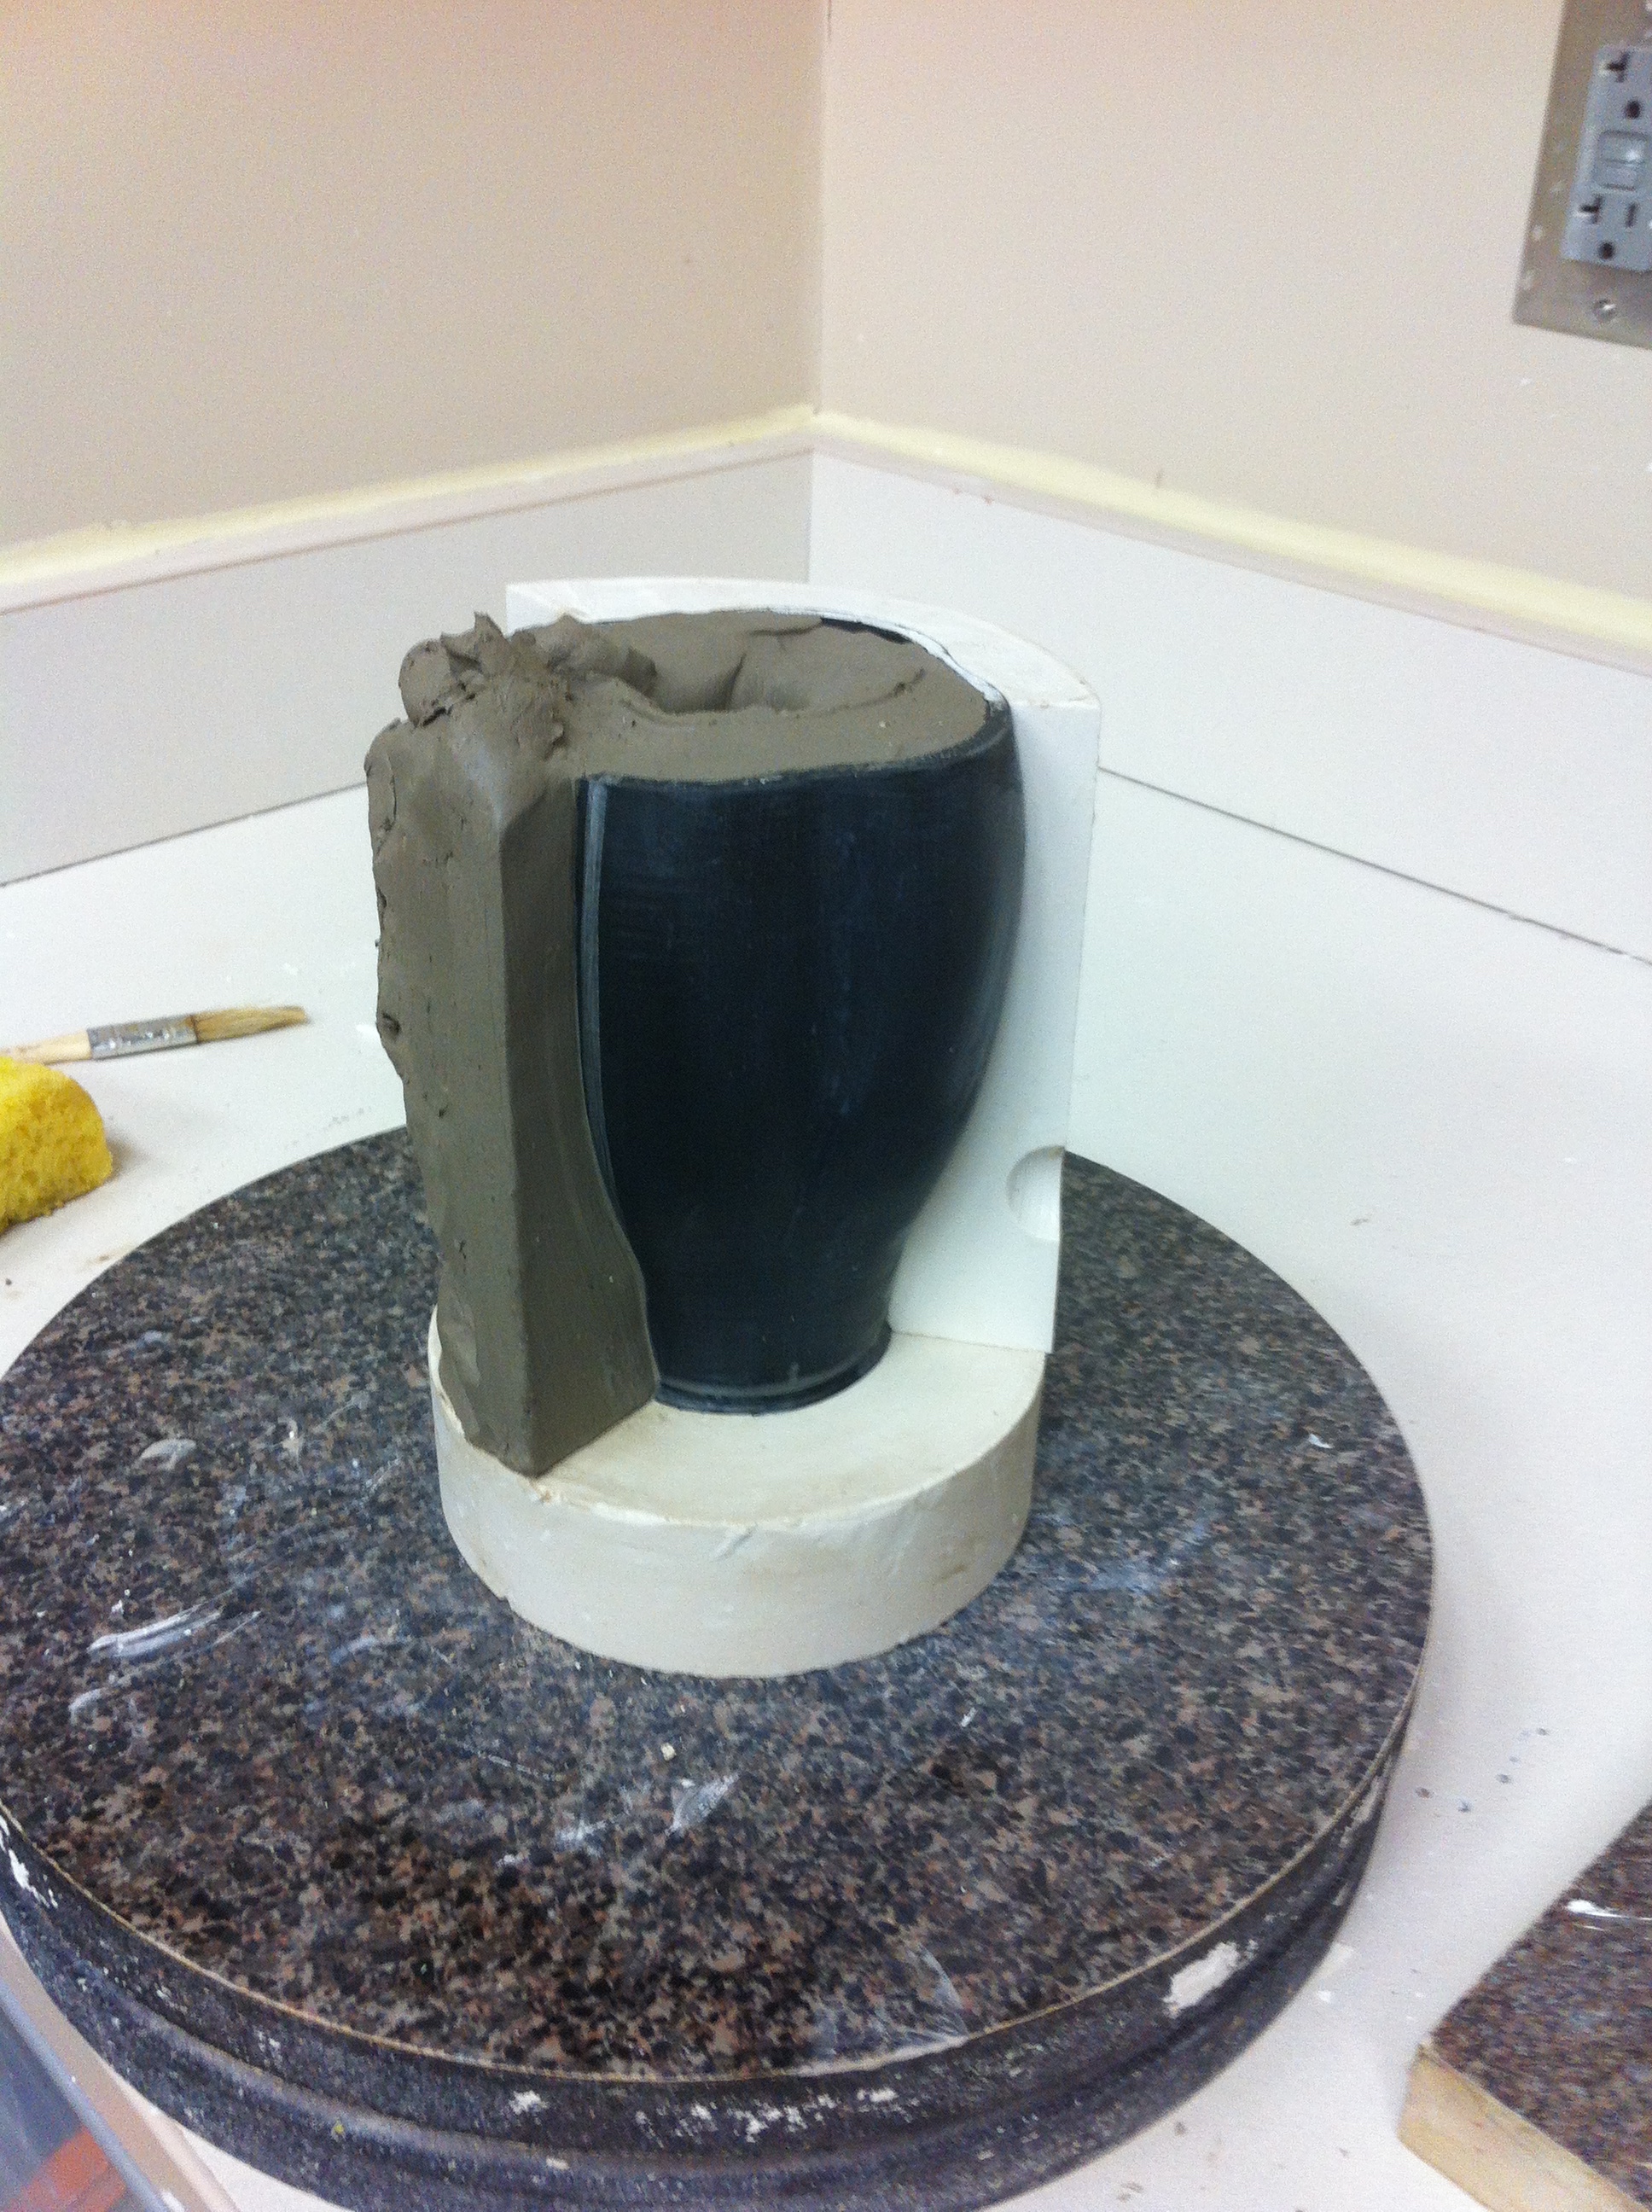
Getting ready to pour the second side of the mold
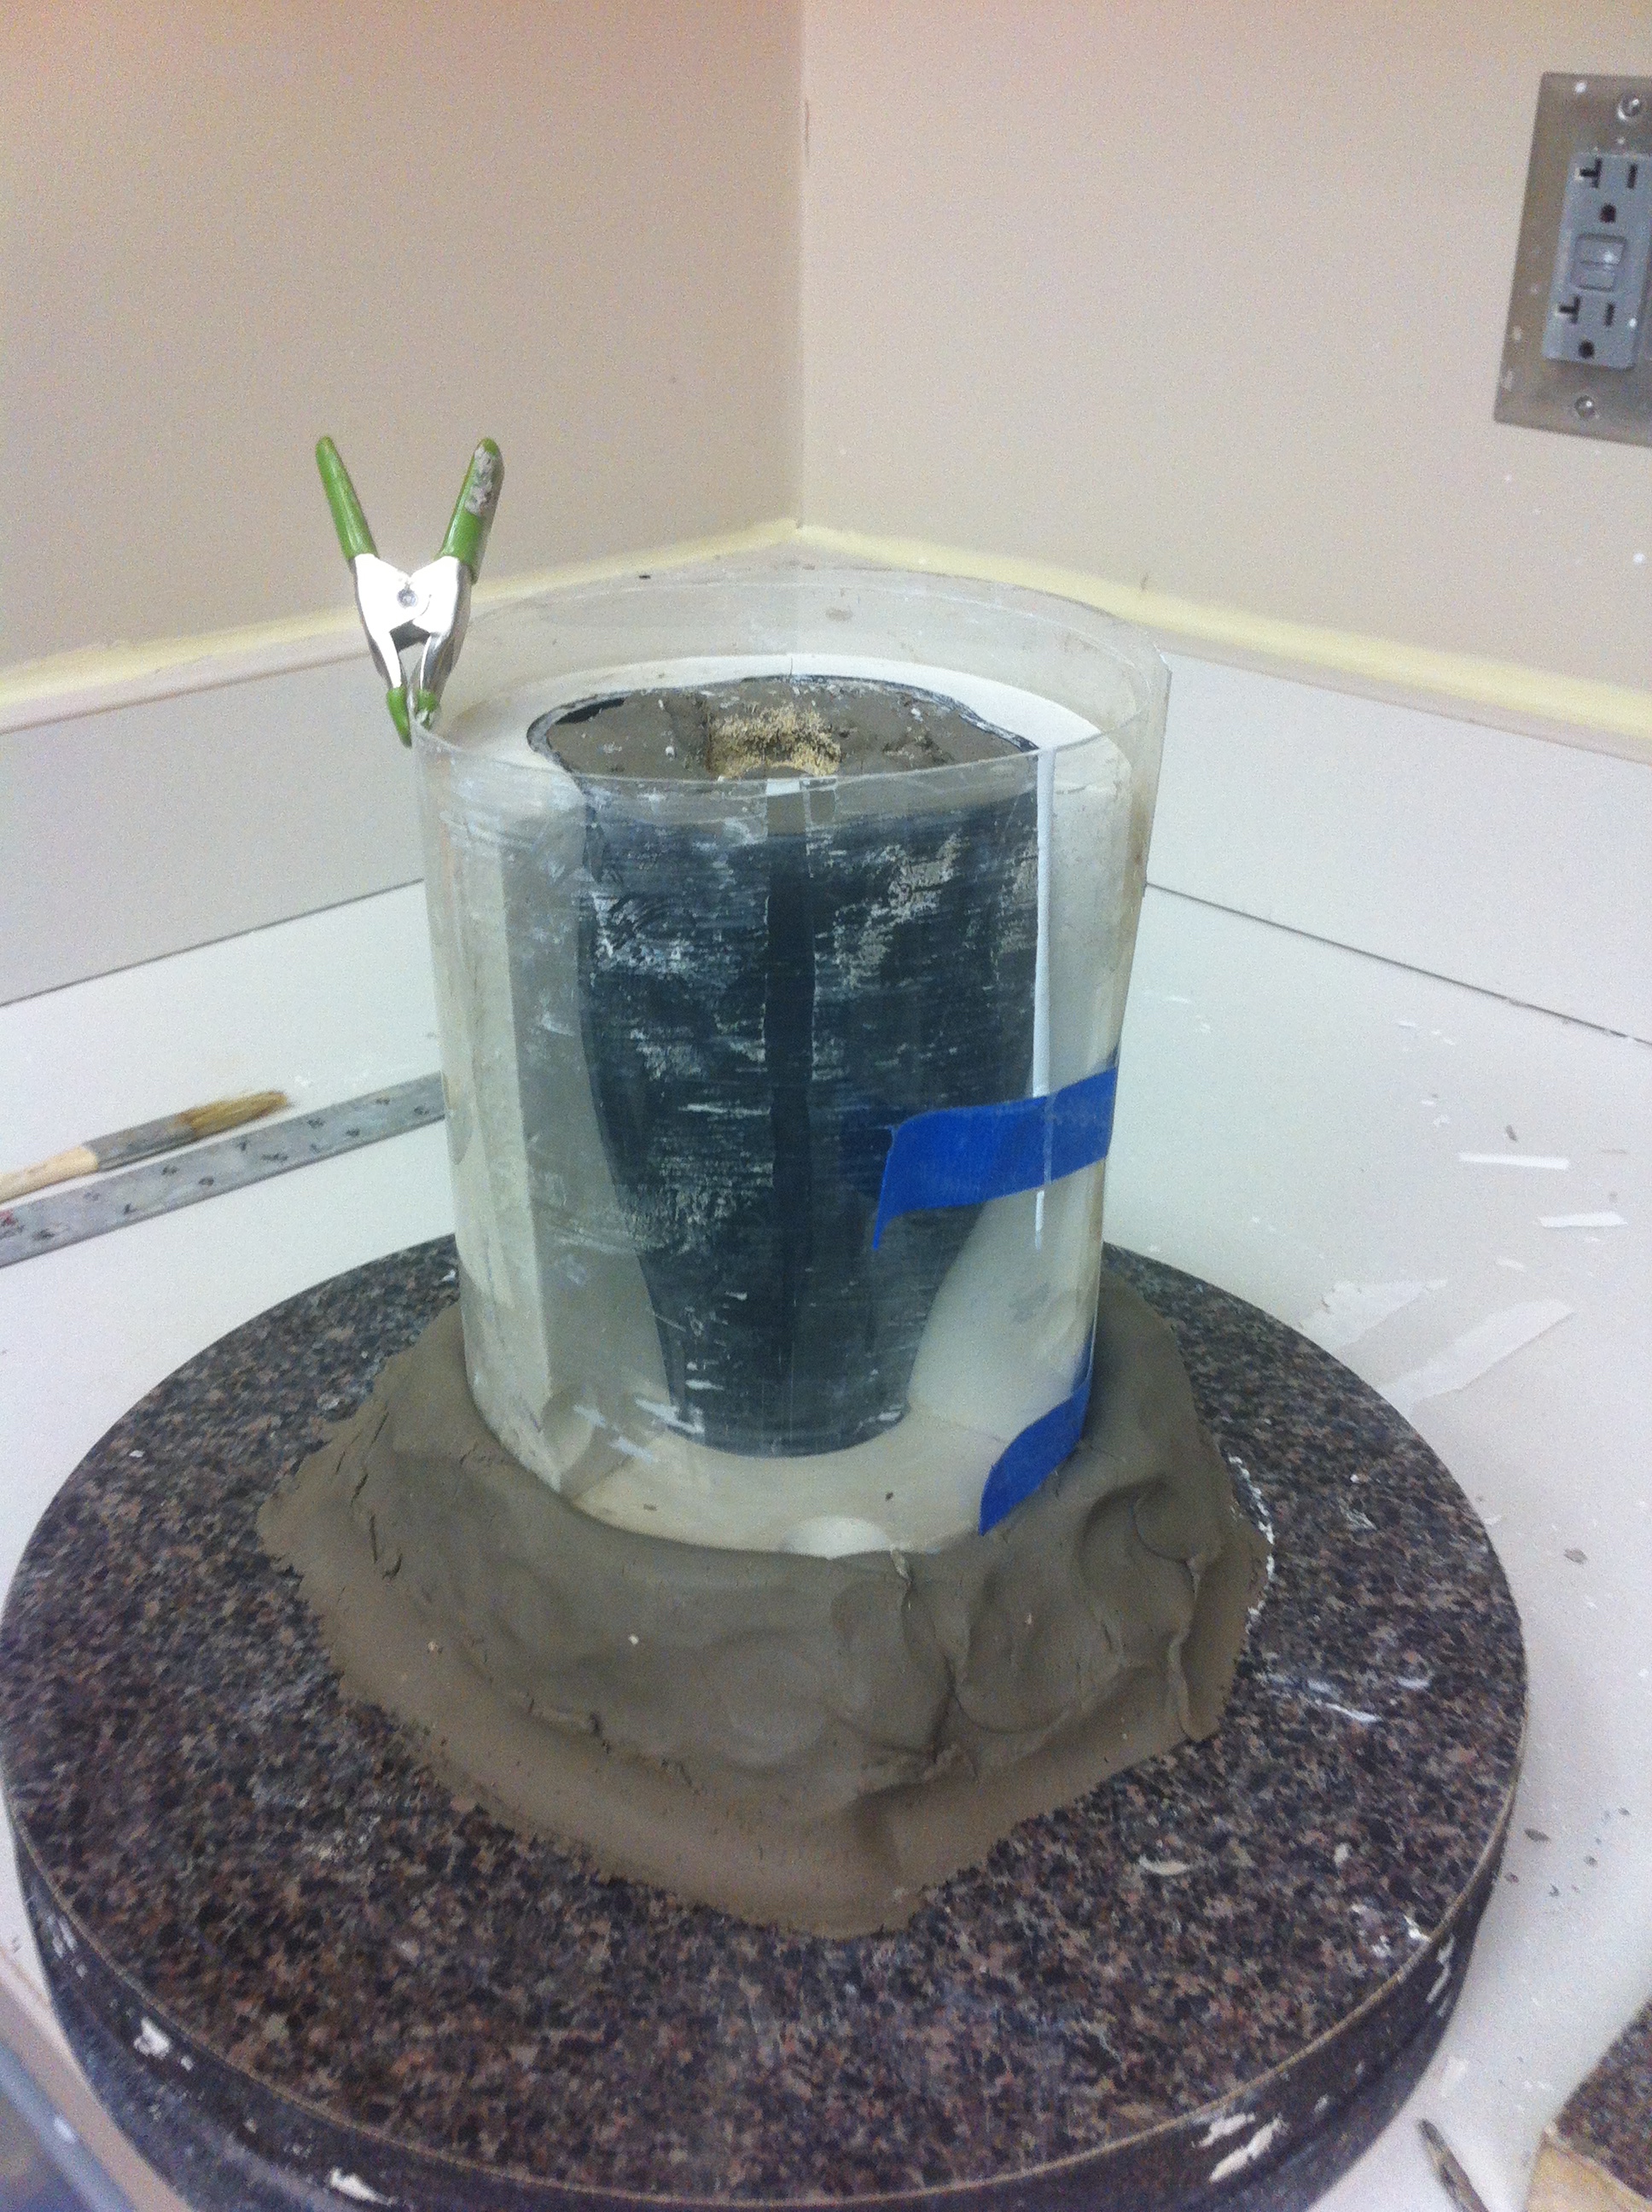
Ready to pour the last side.
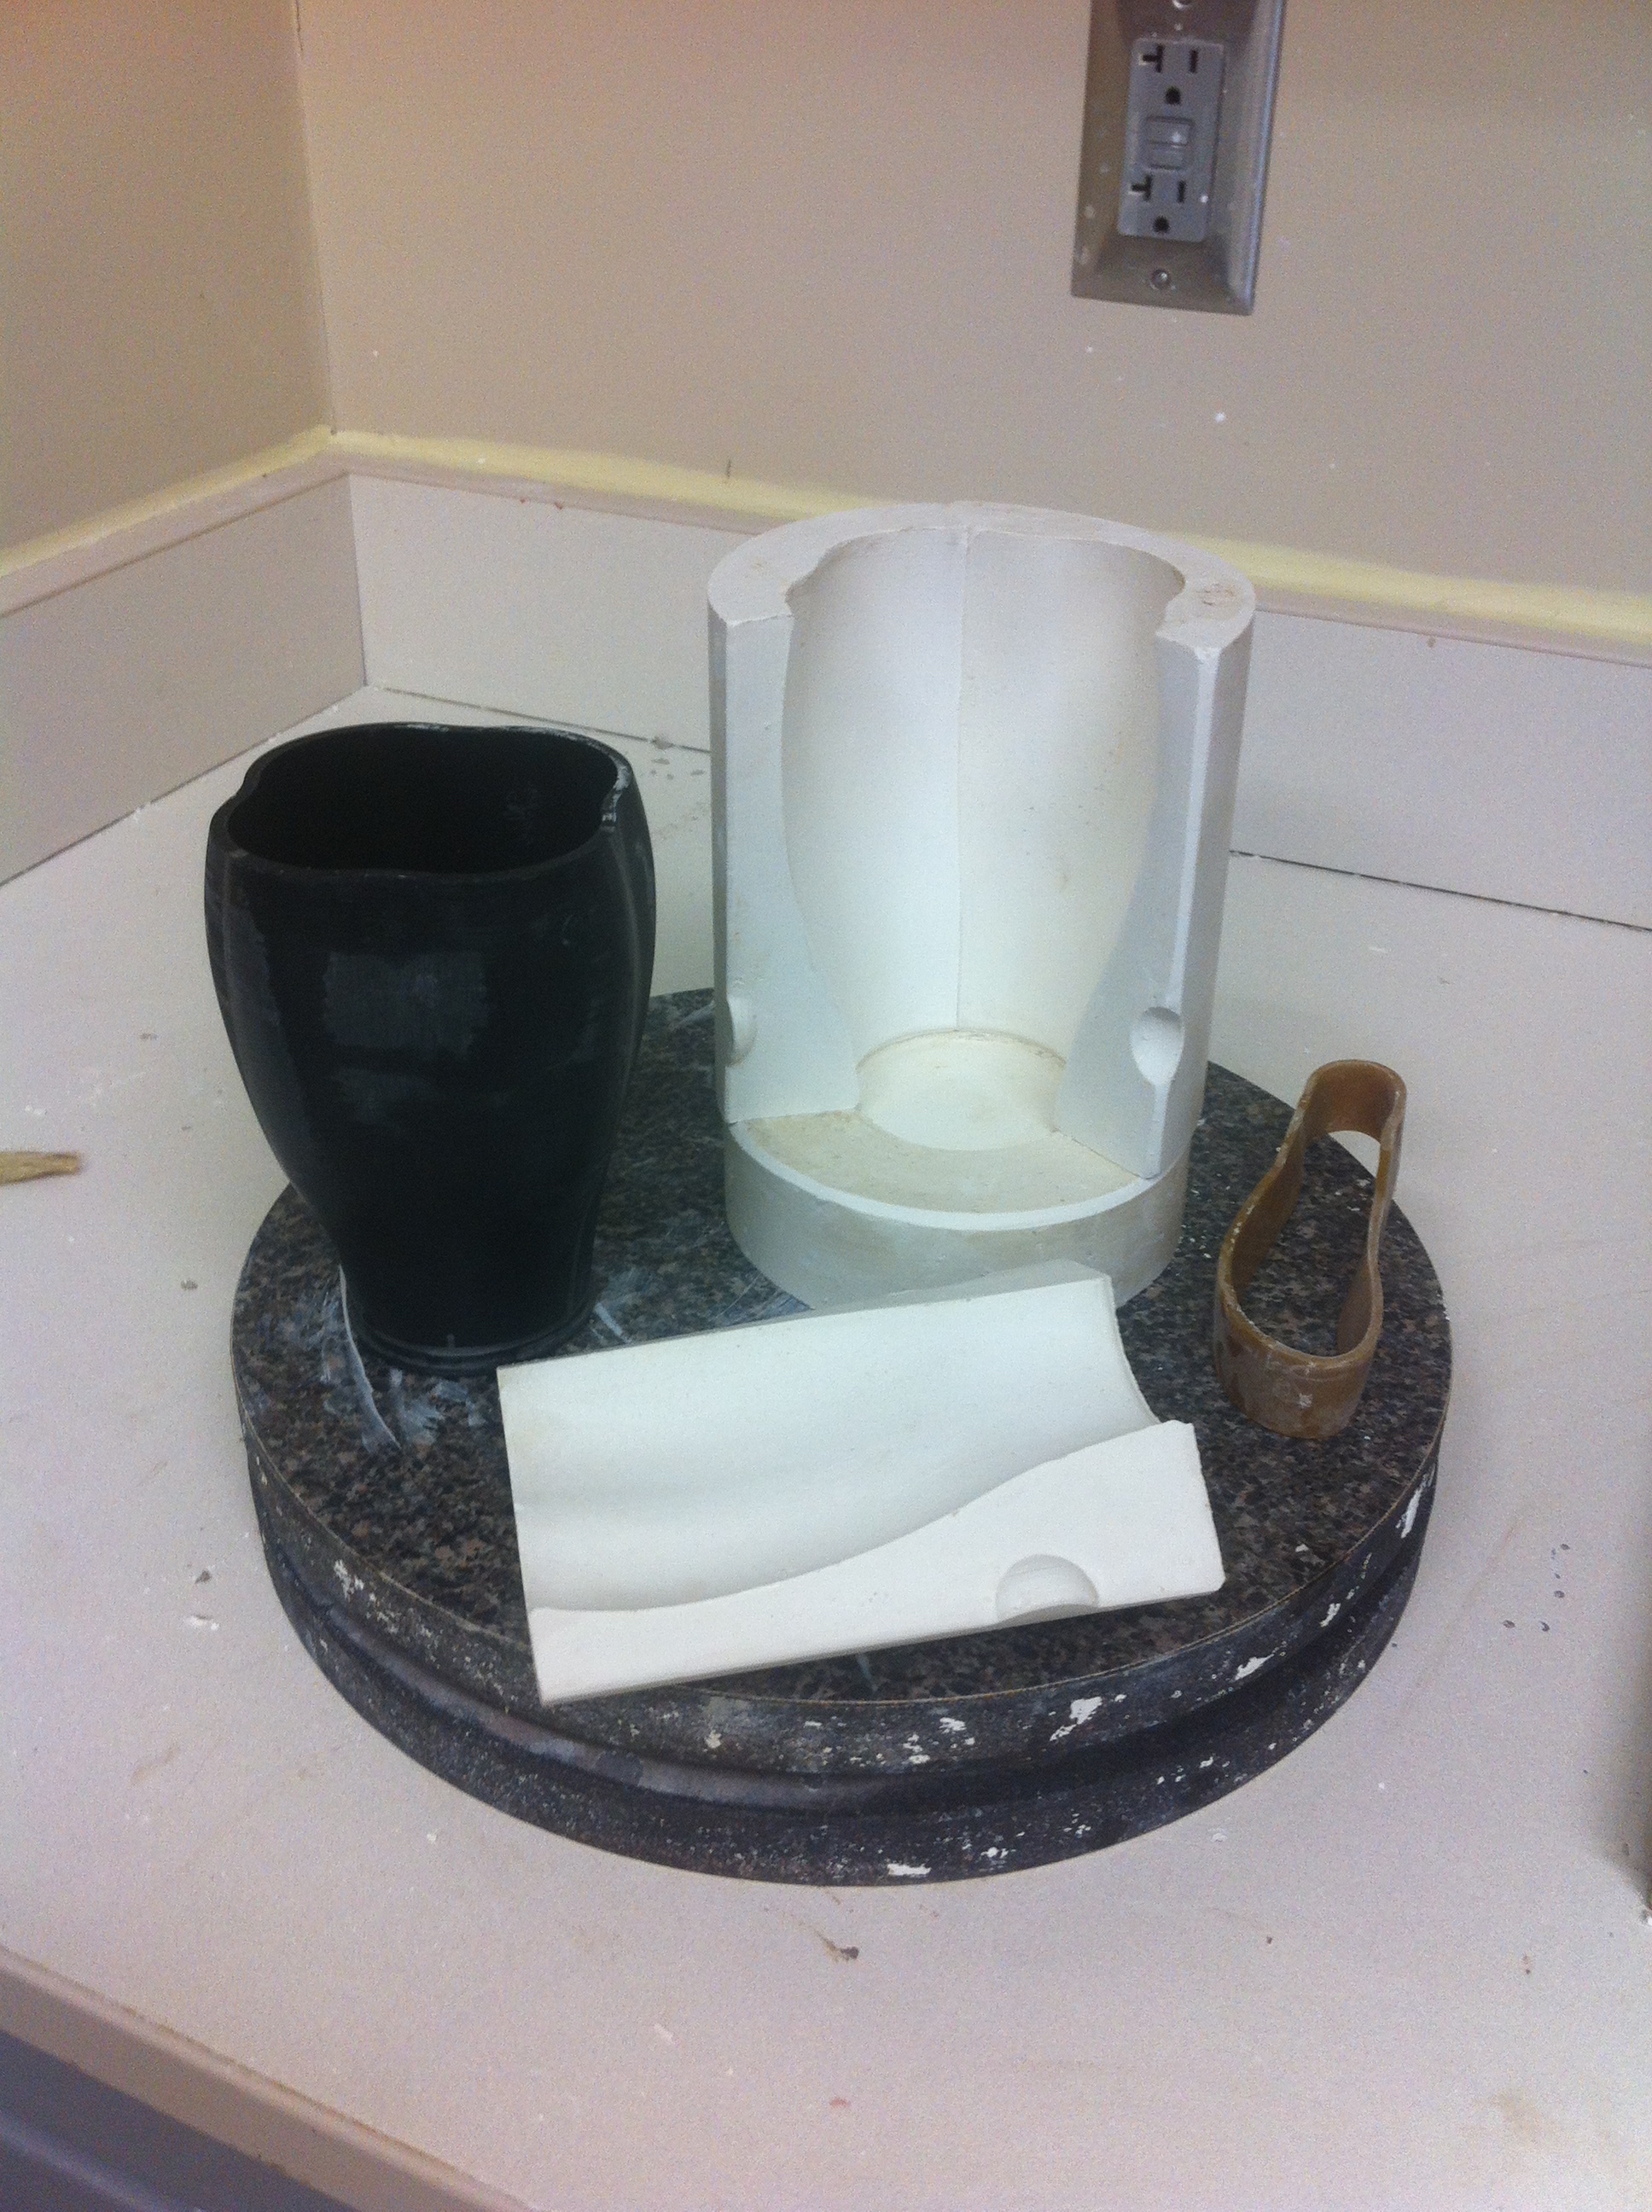
The finished mold with the 3D print.
The white cup is the scaled prototype. The black cup (next to the final mold) is the prototype scale up 12% to allow for the clay shrinkage. This mold proved to be much easier due to the clean vertical lines of the cup, no undercuts to worry about.